Tinypilot
Use your Raspberry Pi as a browser-based KVM.
Install / Use
/learn @tiny-pilot/TinypilotREADME
TinyPilot


Overview
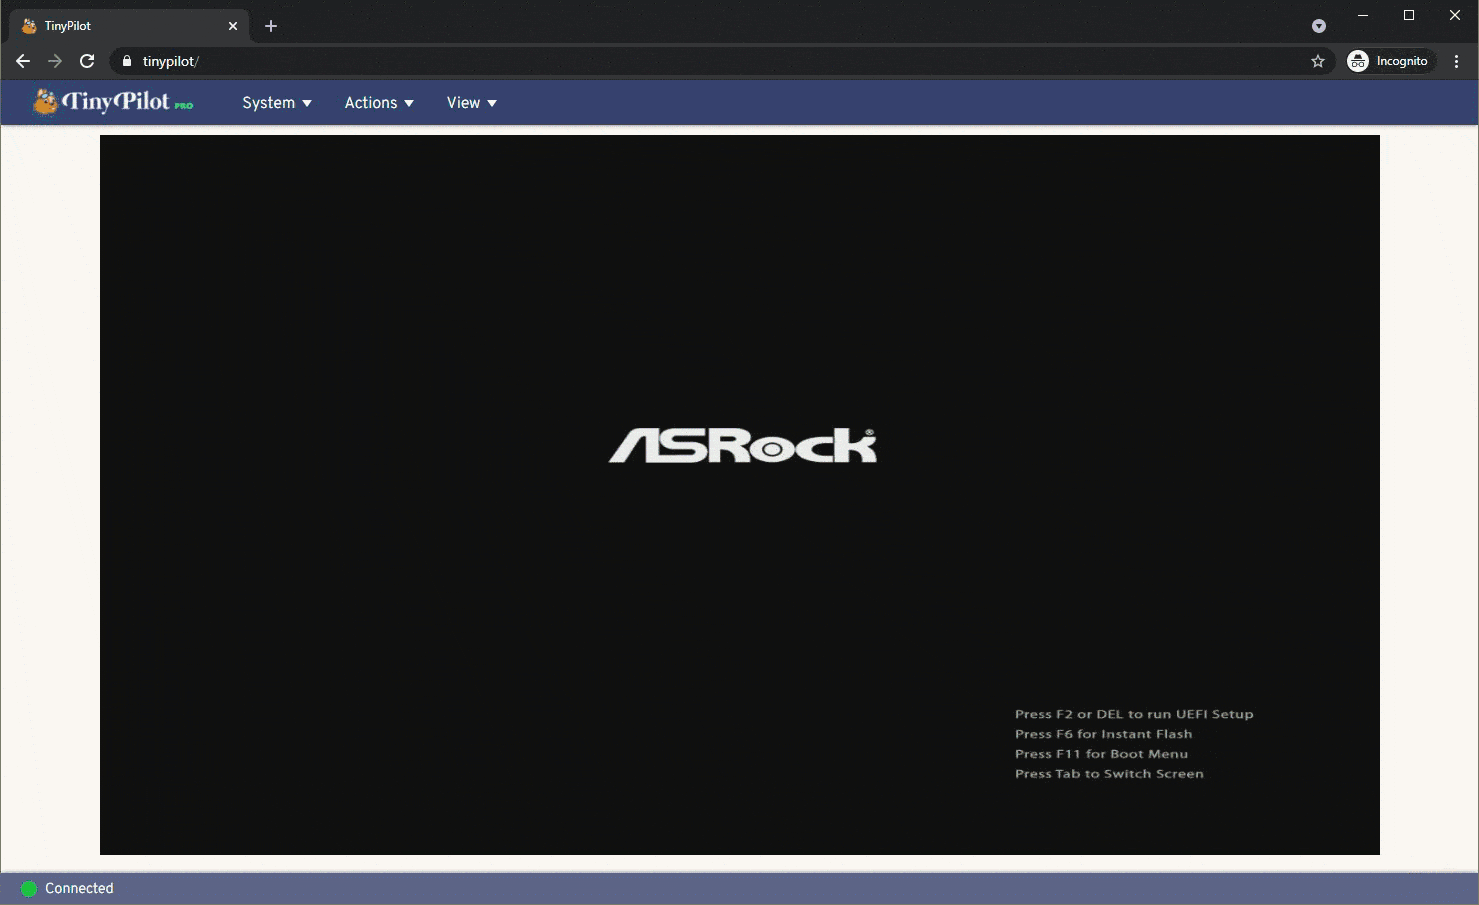
Turn your Raspberry Pi into a browser-based KVM.
Features
- Video capture (HDMI/DVI/VGA)
- Keyboard forwarding
- Mouse forwarding
- Fullscreen mode
- Paste text from clipboard
Official builds
TinyPilot Voyager 3
TinyPilot Voyager 3 is TinyPilot’s latest professional-grade KVM over IP device, trusted by IT teams in small offices and Fortune 10 companies, with plug-and-play set up backed by a 12-month warranty and expert priority support.
What you get:
- Rugged rack-mountable design with ultra-quiet active cooling
- Status screen with vital system information
- HDMI loop output provides video passthrough to a local monitor
- 1920x1200 video capture for better compatibility
- PoE option available for flexible deployment (Voyager 3 Plus)
- Optional additional Ethernet interface (Voyager 3 Plus)
- FCC/CE compliant
- TinyPilot Pro software included with lifetime updates
- 12-month extendable warranty
- Expert priority support
Build your own
Want to build your own device to run TinyPilot? You can assemble a DIY version using a Raspberry Pi 4b and a USB capture dongle. This is a great option for hobbyists and those on a tight budget.
- Raspberry Pi 4B
- HDMI to USB dongle
- They have no brand name, and there are several variants, but they're all built on the same MacroSilicon 2109 chip.
- They're available for $10-15 on eBay and AliExpress.
- 3 Amp power supply
- USB-C to USB-A cable (Male/Male)
- microSD card (Class 10, 8 GB or larger)
- HDMI to HDMI cable
- Or [other] to HDMI, depending on how your target machine displays output.
- (Optional) A USB-C OTG split connector: Supports continuous power when the target computer turns off.
- Requires two additional USB-A to microUSB cables and a 3 Amp power adapter.
- If you're using this split connector, choose a USB-C to USB-A cable that's 12" or shorter to minimize voltage drop along the cable.
- (Optional) VGA to HDMI Adapter - If your target system has VGA output.
- Alternatively, you can replace the VGA to HDMI adapter and HDMI to USB dongle with a VGA to USB adapter.
See "TinyPilot: Build a KVM Over IP for Under $100" for a more detailed tutorial on how to assemble these parts to create a TinyPilot.
Simple installation
Requirements
- A Raspberry Pi 4B running Raspberry Pi OS Bullseye (32-bit)
You can install TinyPilot on a compatible Raspberry Pi in just two commands.
curl \
  --silent \
  --show-error \
  https://raw.githubusercontent.com/tiny-pilot/tinypilot/master/get-tinypilot.sh | \
    bash - && \
  sudo reboot
When your Pi reboots, you should be able to access TinyPilot by visiting your Pi hostname in the browser. For example, if your device is named raspberrypi:
If you're using an HDMI to CSI capture chip (such as with a TinyPilot Voyager series device), see the additional configuration steps required for video capture.
Developer installation
See the CONTRIBUTING file.
Other installation options
Diagnostics
If you're having trouble with TinyPilot, you can retrive logs from the web dashboard by clicking "Logs" in the bottom of the main dashboard.
If you can't access the web dashboard, you can retrieve the logs by SSHing into the device and running the following command:
sudo /opt/tinypilot-privileged/scripts/collect-debug-logs
This log is useful if you file a bug report.
You can read more details about the logs in the wiki.
See also
- TinyPilot Wiki: Guides for tasks related to TinyPilot.
Acknowledgments
TinyPilot would not be possible without the excellent and generous work from many open source projects, the most notable of which are listed below:
Mailing list
For news about major TinyPilot releases and other updates about the project, sign up for the TinyPilot mailing list:
Upgrade to Pro
TinyPilot Pro includes additional features for professional users, including:
- Boot into a virtual disk drive
- Load virtual disk drive from URL
- Control TinyPilot programmatically
- Mount virtual media in CD-ROM mode
- Wake on LAN
- Manage SSH access from the web interface
- Assign a static IP address from the web interface
- Easily transfer files using a virtual USB drive
- Manage Wi-Fi connections from the web interface
- Execute scripts from the web interface
- Save files to virtual media
- User roles
- Tailscale integration
Support the project and upgrade to Pro at https://tinypilotkvm.com/products/tinypilot-pro.
Related Skills
node-connect
336.9kDiagnose OpenClaw node connection and pairing failures for Android, iOS, and macOS companion apps
frontend-design
83.0kCreate distinctive, production-grade frontend interfaces with high design quality. Use this skill when the user asks to build web components, pages, or applications. Generates creative, polished code that avoids generic AI aesthetics.
openai-whisper-api
336.9kTranscribe audio via OpenAI Audio Transcriptions API (Whisper).
commit-push-pr
83.0kCommit, push, and open a PR
