Autocert
⚓ A kubernetes add-on that automatically injects TLS/HTTPS certificates into your containers
Install / Use
/learn @smallstep/AutocertREADME
![]()
Autocert


Autocert is a Kubernetes add-on that automatically injects TLS/HTTPS certificates into your containers, so they can communicate with each other securely.
To get a certificate simply annotate your pods with a name. An X.509 (TLS/HTTPS) certificate is automatically created and mounted at /var/run/autocert.step.sm/ along with a corresponding private key and root certificate (everything you need for mTLS).
The certificates are signed by an internal step-ca Certificate Authority (CA) or by Certificate Manager (see Tutorial & Demo).
By the way, we also have a cert-manager Certificate Issuer called step-issuer that works directly with either your step-ca server or our cloud CA product. While Autocert volume mounts certificates and keys directly into Pods, step-issuer makes them available via Secrets.
We ❤️ feedback, bugs, and enhancement suggestions. We also have an #autocert channel on our Discord.
Motivation
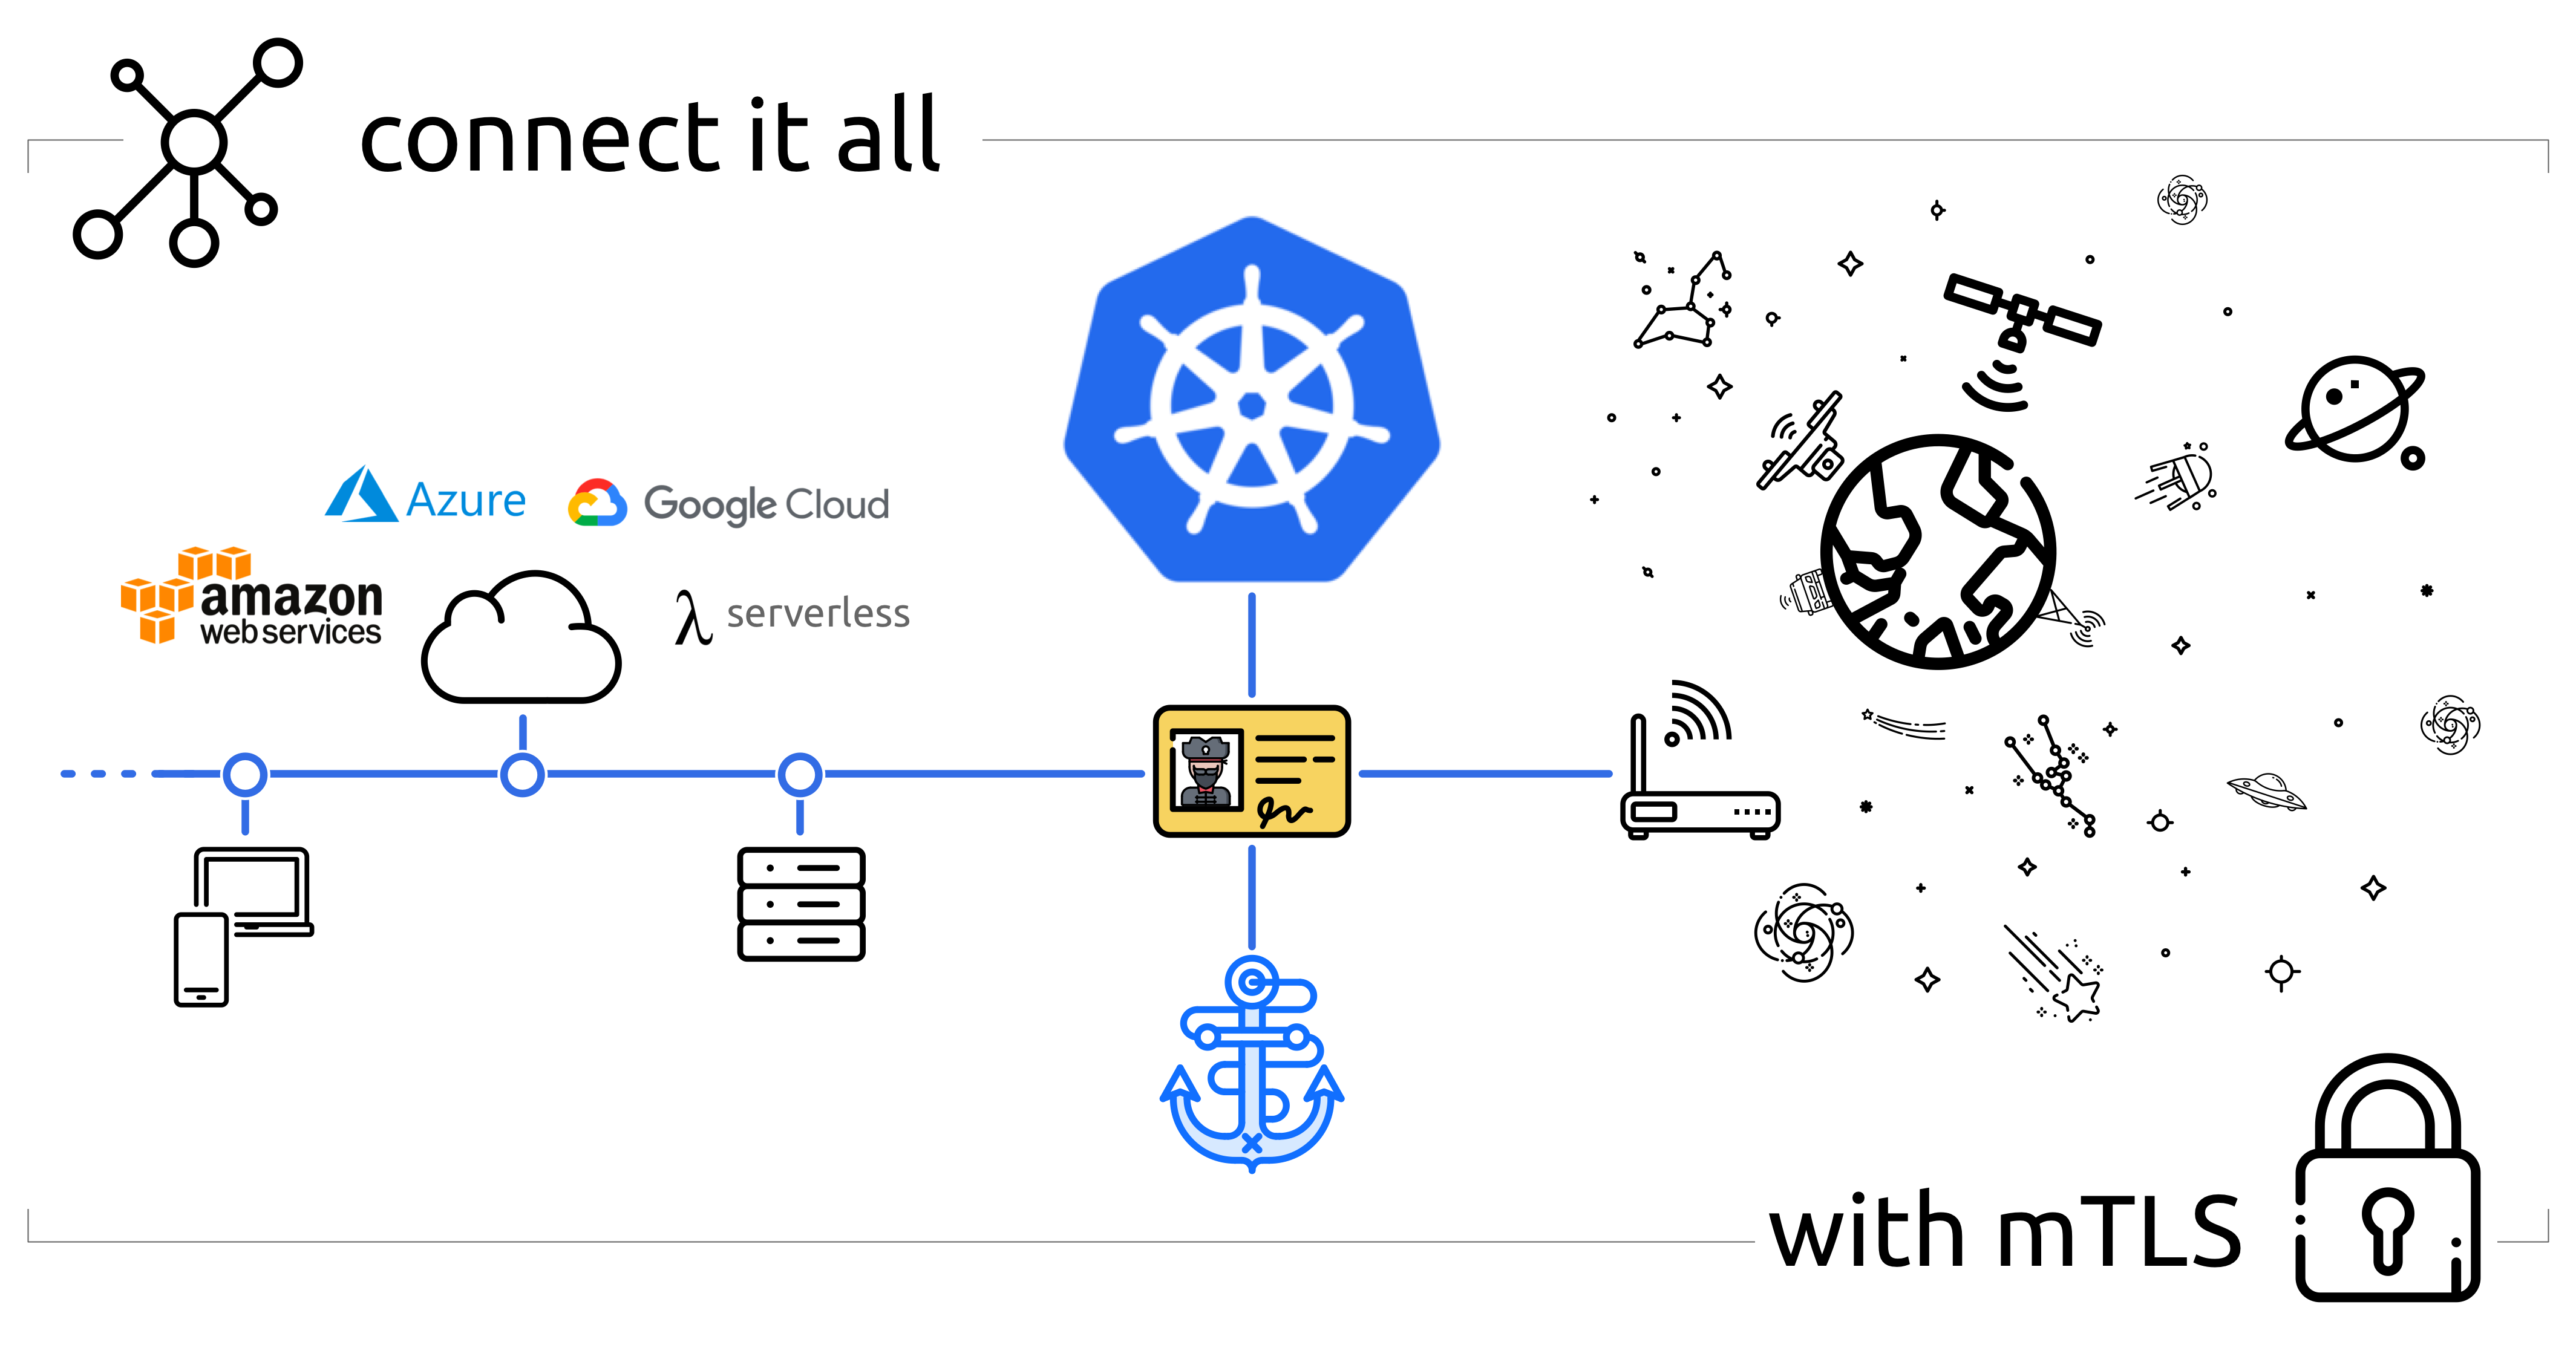
Autocert exists to make it easy to use mTLS (mutual TLS) to improve security within a cluster and to secure communication into, out of, and between kubernetes clusters.
TLS (and HTTPS, which is HTTP over TLS) provides authenticated encryption: an identity dialtone and end-to-end encryption for your workloads. It makes workloads identity-aware, improving observability and enabling granular access control. Perhaps most compelling, mTLS lets you securely communicate with workloads running anywhere, not just inside kubernetes.
Unlike VPNs & SDNs, deploying and scaling mTLS is pretty easy. You're (hopefully) already using TLS, and your existing tools and standard libraries will provide most of what you need.
There's just one problem: you need certificates issued by your own certificate authority (CA). Building and operating a CA, issuing certificates, and making sure they're renewed before they expire is tricky. Autocert does all of this for you.
Features
First and foremost, autocert is easy. You can get started in minutes.
Autocert runs step-ca to internally generate keys and issue certificates. This process is secure and automatic, all you have to do is install autocert and annotate your pods.
Features include:
- A fully featured private CA for workloads running on kubernetes and elsewhere
- RFC5280 and CA/Browser Forum compliant certificates that work for TLS
- Namespaced installation into the
stepnamespace so it's easy to lock down your CA - Short-lived certificates with fully automated enrollment and renewal
- Private keys are never transmitted across the network and aren't stored in
etcd
Because autocert is built on step-ca you can easily extend access to developers, endpoints, and workloads running outside your cluster, too.
Tutorial & Demo
<a href="https://www.youtube.com/watch?v=NhHkfvSuKiM"><img width="800" alt="smallstep-cm-autocert-demo-keyframe" src="https://user-images.githubusercontent.com/50809/179625695-347bdb75-0376-443d-be21-ce30e55cacee.png"></a>
In this tutorial video, Smallstep Software Engineer Andrew Reed shows how to use autocert alongside Smallstep Certificate Manager hosted CA.
Installation
Prerequisites
All you need to get started is kubectl and a cluster running kubernetes with admission webhooks enabled:
$ kubectl version
Client Version: v1.26.1
Kustomize Version: v4.5.7
Server Version: v1.25.3
$ kubectl api-versions | grep "admissionregistration.k8s.io/v1"
admissionregistration.k8s.io/v1
Install via kubectl
To install autocert run:
kubectl run autocert-init -it --rm --image cr.smallstep.com/smallstep/autocert-init --restart Never
💥 installation complete.
You might want to check out what this command does before running it. You can also install
autocertmanually if that's your style.
Install via Helm
Autocert can also be installed using the Helm package
manager, to install the repository and autocert run:
helm repo add smallstep https://smallstep.github.io/helm-charts/
helm repo update
helm install smallstep/autocert
You can see all the configuration options at https://hub.helm.sh/charts/smallstep/autocert.
Usage
Using autocert is also easy:
- Enable
autocertfor a namespace by labelling it withautocert.step.sm=enabled, then - Inject certificates into containers by annotating pods with
autocert.step.sm/name: <name>
Enable autocert (per namespace)
To enable autocert for a namespace it must be labelled autocert.step.sm=enabled.
To label the default namespace run:
kubectl label namespace default autocert.step.sm=enabled
To check which namespaces have autocert enabled run:
$ kubectl get namespace -L autocert.step.sm
NAME          STATUS   AGE   AUTOCERT.STEP.SM
default       Active   59m   enabled
...
Annotate pods to get certificates
To get a certificate you need to tell autocert your workload's name using the
autocert.step.sm/name annotation (this name will appear as the X.509 common
name and SAN).
It's also possible to define the duration of the certificate using the
annotation autocert.step.sm/duration, a duration is a sequence of decimal
numbers, each with optional fraction and a unit suffix, such as "300ms", "1.5h"
or "2h45m". Valid time units are "ns", "us" (or "µs"), "ms", "s", "m", "h". Take
into account that the container will crash if the duration is not between the
limits defined by the used provisioner, the defaults are 5m and 24h.
By default the certificate, key and root will be owned by root and world-readable (0644).
Use the autocert.step.sm/owner and autocert.step.sm/mode annotations to set the owner and permissions of the files.
The owner annotation requires user and group IDs rather than names because the images used by the containers that create and renew the certificates do not have the same user list as the main application containers.
Let's deploy a simple mTLS server
named hello-mtls.default.svc.cluster.local:
cat <<EOF | kubectl apply -f -
apiVersion: apps/v1
kind: Deployment
metadata: {name: hello-mtls, labels: {app: hello-mtls}}
spec:
  replicas: 1
  selector: {matchLabels: {app: hello-mtls}}
  template:
    metadata:
      annotations:
        # AUTOCERT ANNOTATION HERE -v ###############################
        autocert.step.sm/name: hello-mtls.default.svc.cluster.local #
        # AUTOCERT ANNOTATION HERE -^ ###############################
      labels: {app: hello-mtls}
    spec:
      containers:
      - name: hello-mtls
        image: smallstep/hello-mtls-server-go:latest
EOF
In our new container we should find a certificate, private key, and root
certificate mounted at /var/run/autocert.step.sm:
$ export HELLO_MTLS=$(kubectl get pods -l app=hello-mtls -o jsonpath='{$.items[0].metadata.name}')
$ kubectl exec -it $HELLO_MTLS -c hello-mtls -- ls /var/run/autocert.step.sm
root.crt  site.crt  site.key
We're done. Our container has a certificate, issued by our CA, which autocert
will automatically renew.
Now let's deploy another server with a autocert.step.sm/duration, autocert.step.sm/owner and autocert.step.sm/mode:
cat <<EOF | kubectl apply -f -
apiVersion: apps/v1
kind: Deployment
metadata: {name: hello-mtls-1h, labels: {app: hello-mtls-1h}}
spec:
  replicas: 1
  selector: {matchLabels: {app: hello-mtls-1h}}
  template:
    metadata:
      annotations:
        autocert.step.sm/name: hello-mtls-1h.default.svc.cluster.local
        autocert.step.sm/duration: 1h
        autocert.step.sm/owner: "999:999"
        autocert.step.sm/mode: "0600"
      labels: {app: hello-mtls-1h}
    spec:
      containers:
      - name: hello-mtls
        image: smallstep/hello-mtls-server-go:latest
EOF
