IGAN
Interactive Image Generation via Generative Adversarial Networks
Install / Use
npx skills add junyanz/iGANInstalls into whichever agent you are using.
README
iGAN: Interactive Image Generation via Generative Adversarial Networks
Recent projects:
[pix2pix]: Torch implementation for learning a mapping from input images to output images.
[CycleGAN]: Torch implementation for learning an image-to-image translation (i.e., pix2pix) without input-output pairs.
[pytorch-CycleGAN-and-pix2pix]: PyTorch implementation for both unpaired and paired image-to-image translation.
Overview
iGAN (aka. interactive GAN) is the author's implementation of interactive image generation interface described in:
"Generative Visual Manipulation on the Natural Image Manifold"
Jun-Yan Zhu, Philipp Krähenbühl, Eli Shechtman, Alexei A. Efros
In European Conference on Computer Vision (ECCV) 2016
Given a few user strokes, our system could produce photo-realistic samples that best satisfy the user edits in real-time. Our system is based on deep generative models such as Generative Adversarial Networks (GAN) and DCGAN. The system serves the following two purposes:
- An intelligent drawing interface for automatically generating images inspired by the color and shape of the brush strokes.
- An interactive visual debugging tool for understanding and visualizing deep generative models. By interacting with the generative model, a developer can understand what visual content the model can produce, as well as the limitation of the model.
Please cite our paper if you find this code useful in your research. (Contact: Jun-Yan Zhu, junyanz at mit dot edu)
Getting started
- Install the python libraries. (See Requirements).
- Download the code from GitHub:
git clone https://github.com/junyanz/iGAN
cd iGAN
- Download the model. (See
Model Zoofor details):
bash ./models/scripts/download_dcgan_model.sh outdoor_64
- Run the python script:
THEANO_FLAGS='device=gpu0, floatX=float32, nvcc.fastmath=True' python iGAN_main.py --model_name outdoor_64
Requirements
The code is written in Python2 and requires the following 3rd party libraries:
- numpy
- OpenCV
sudo apt-get install python-opencv
sudo pip install --upgrade --no-deps git+git://github.com/Theano/Theano.git
sudo apt-get install python-qt4
sudo pip install qdarkstyle
sudo pip install dominate
- GPU + CUDA + cuDNN: The code is tested on GTX Titan X + CUDA 7.5 + cuDNN 5. Here are the tutorials on how to install CUDA and cuDNN. A decent GPU is required to run the system in real-time. [Warning] If you run the program on a GPU server, you need to use remote desktop software (e.g., VNC), which may introduce display artifacts and latency problem.
Python3
For Python3 users, you need to replace pip with pip3:
- PyQt4 with Python3:
sudo apt-get install python3-pyqt4
- OpenCV3 with Python3: see the installation instruction.
Interface:
See [Youtube] at 2:18s for the interactive image generation demos.
<img src='pics/ui_intro.jpg' width=800>Layout
- Drawing Pad: This is the main window of our interface. A user can apply different edits via our brush tools, and the system will display the generated image. Check/Uncheck
Editsbutton to display/hide user edits. - Candidate Results: a display showing thumbnails of all the candidate results (e.g., different modes) that fits the user edits. A user can click a mode (highlighted by a green rectangle), and the drawing pad will show this result.
- Brush Tools:
Coloring Brushfor changing the color of a specific region;Sketching brushfor outlining the shape.Warping brushfor modifying the shape more explicitly. - Slider Bar: drag the slider bar to explore the interpolation sequence between the initial result (i.e., randomly generated image) and the current result (e.g., image that satisfies the user edits).
- Control Panel:
Play: play the interpolation sequence;Fix: use the current result as additional constraints for further editingRestart: restart the system;Save: save the result to a webpage.Edits: Check the box if you would like to show the edits on top of the generated image.
User interaction
Coloring Brush: right-click to select a color; hold left click to paint; scroll the mouse wheel to adjust the width of the brush.Sketching Brush: hold left-click to sketch the shape.Warping Brush: We recommend you first use coloring and sketching before the warping brush. Right-click to select a square region; hold left click to drag the region; scroll the mouse wheel to adjust the size of the square region.- Shortcuts: P for
Play, F forFix, R forRestart; S forSave; E forEdits; Q for quitting the program. - Tooltips: when you move the cursor over a button, the system will display the tooltip of the button.
Model Zoo:
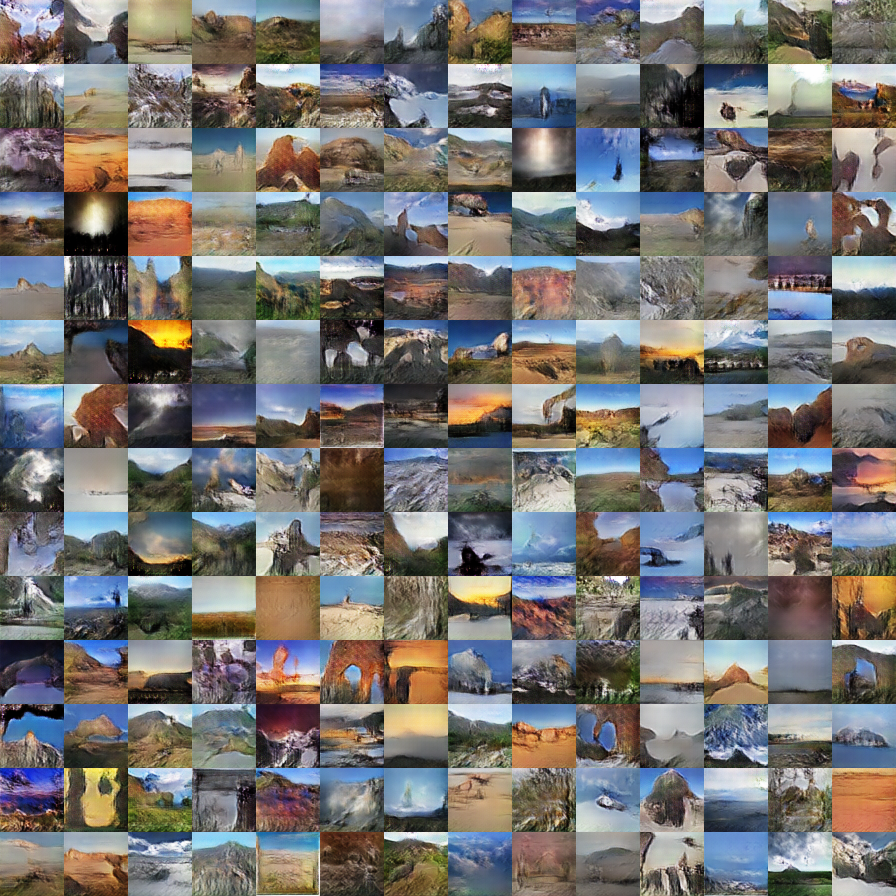
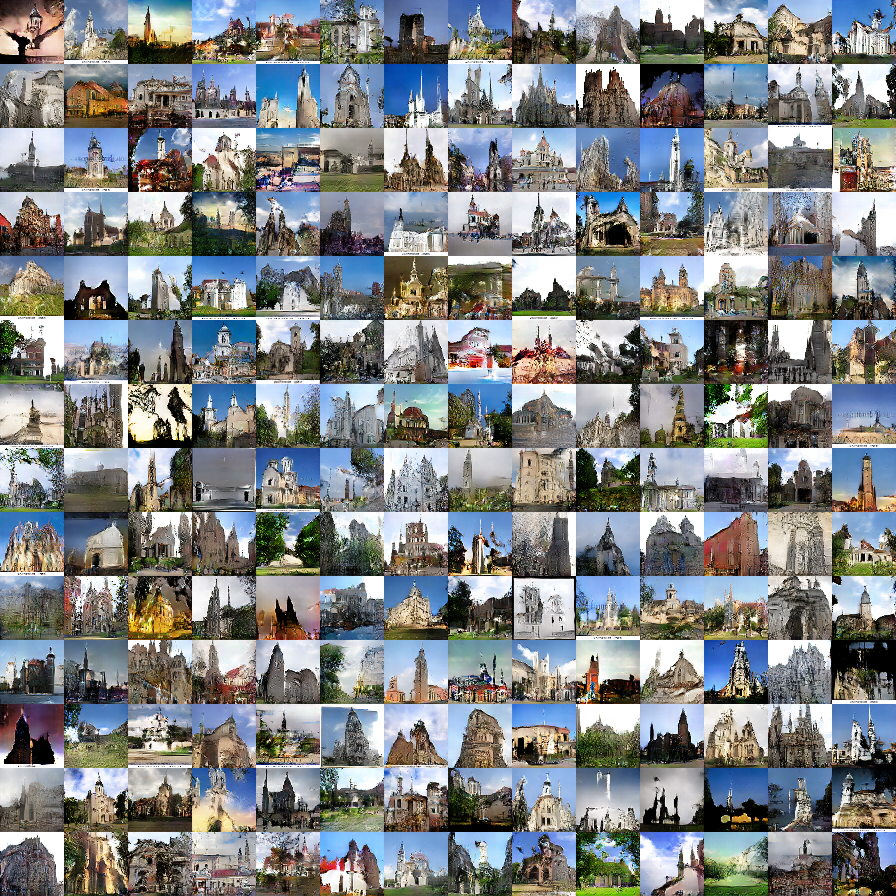
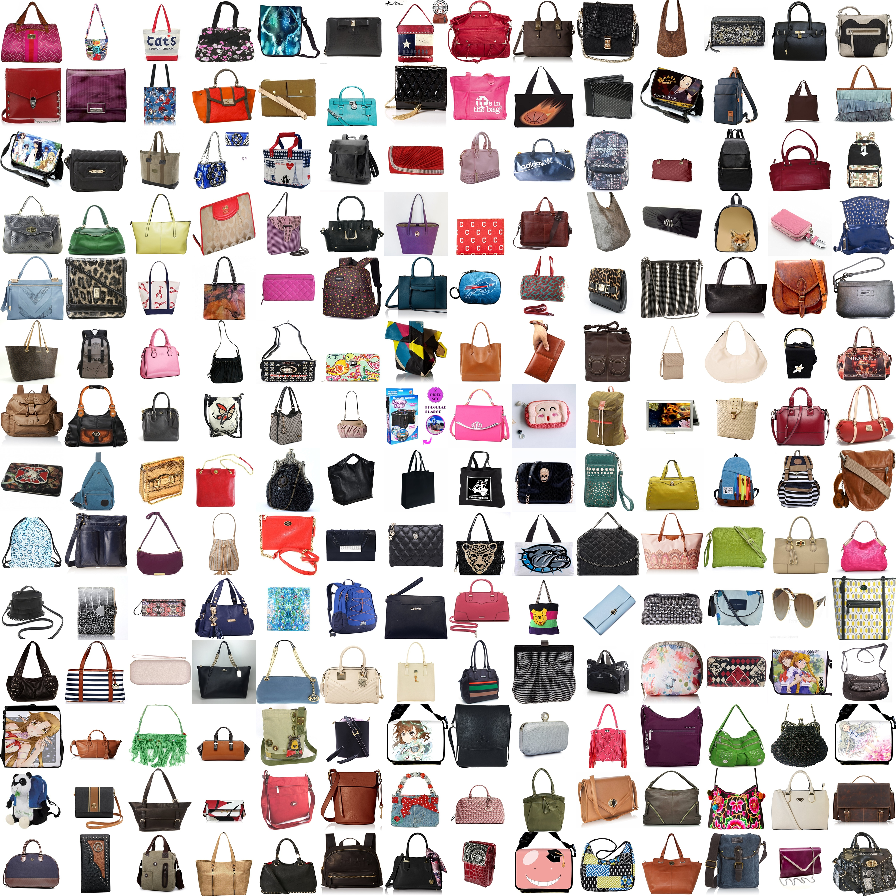
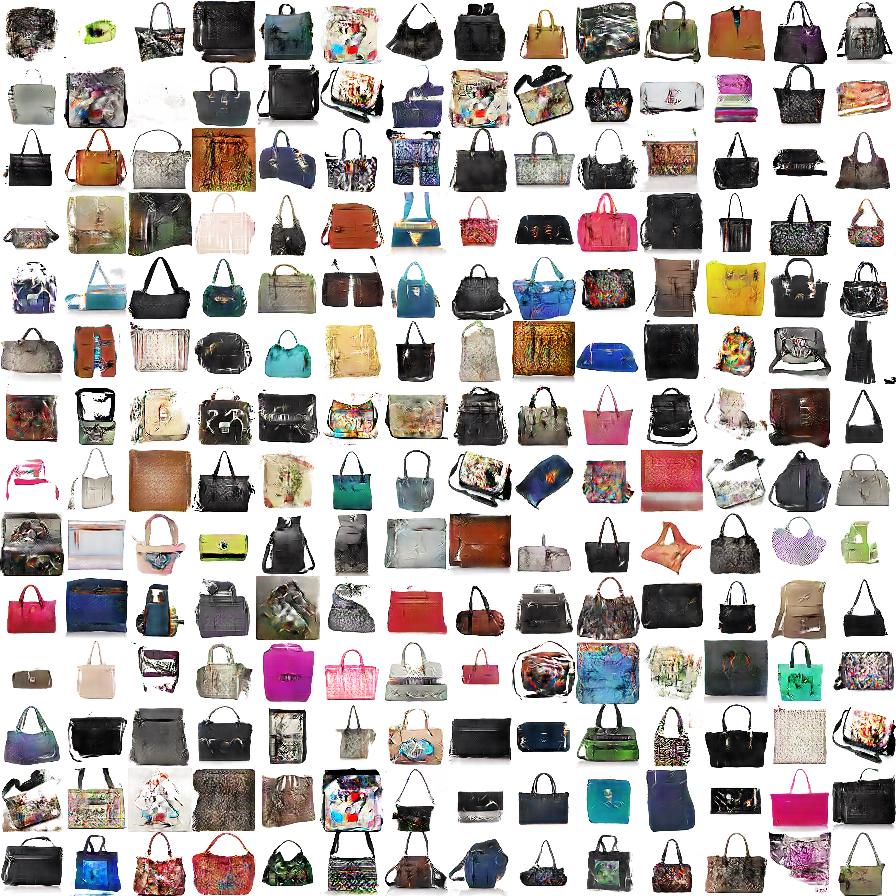
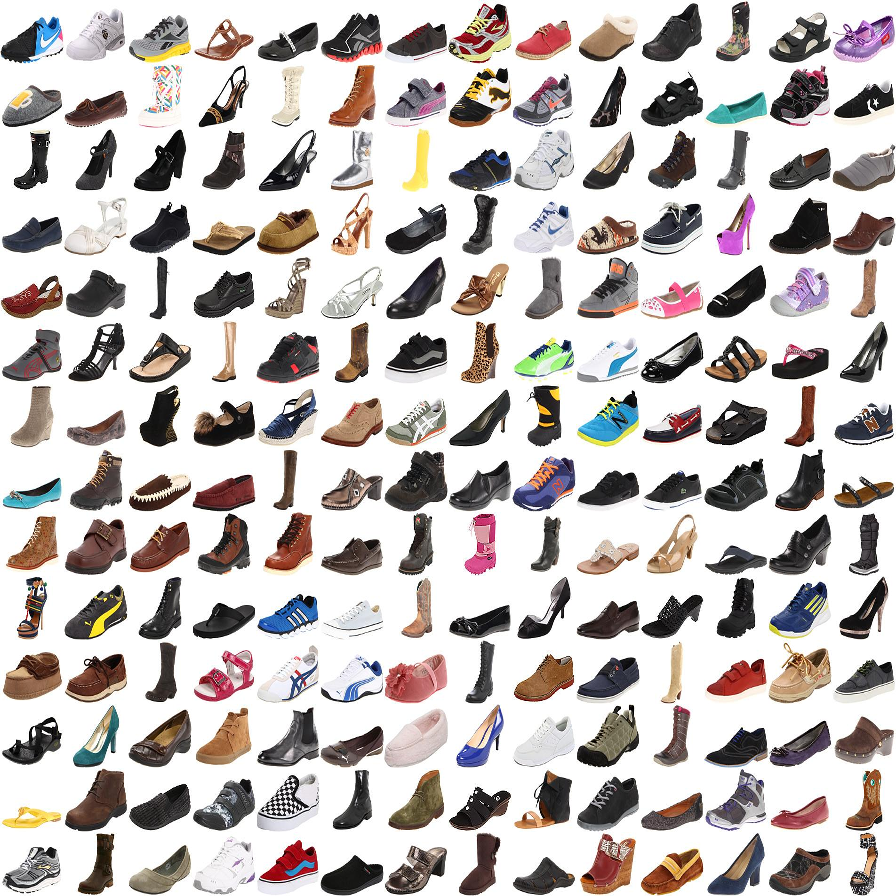
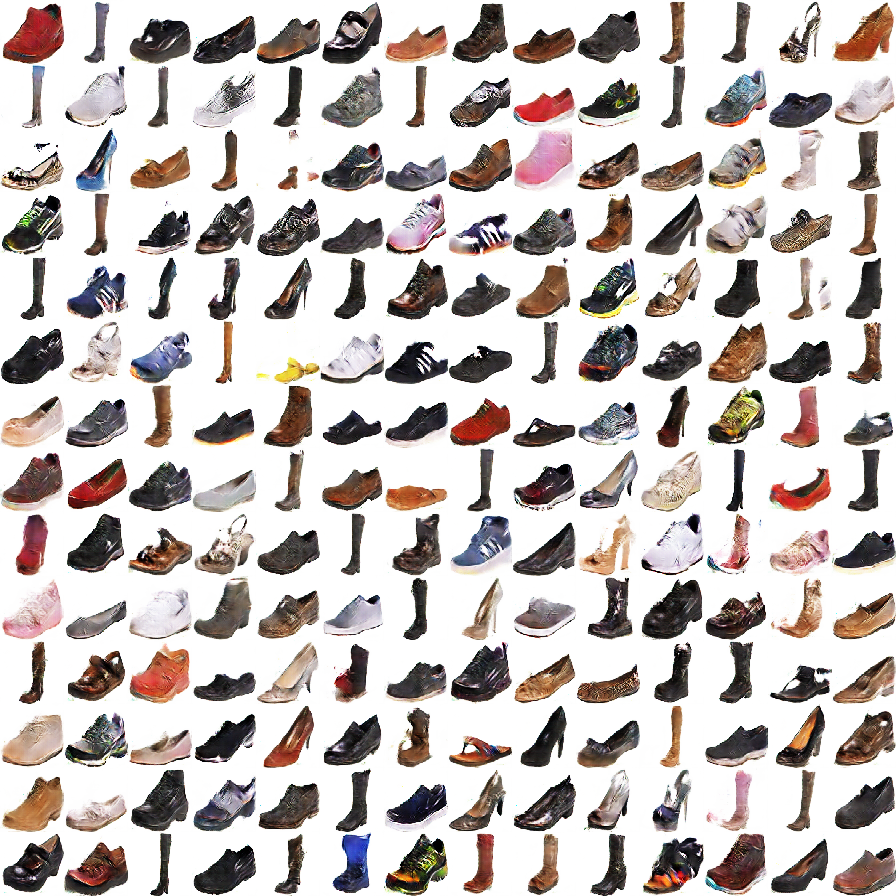
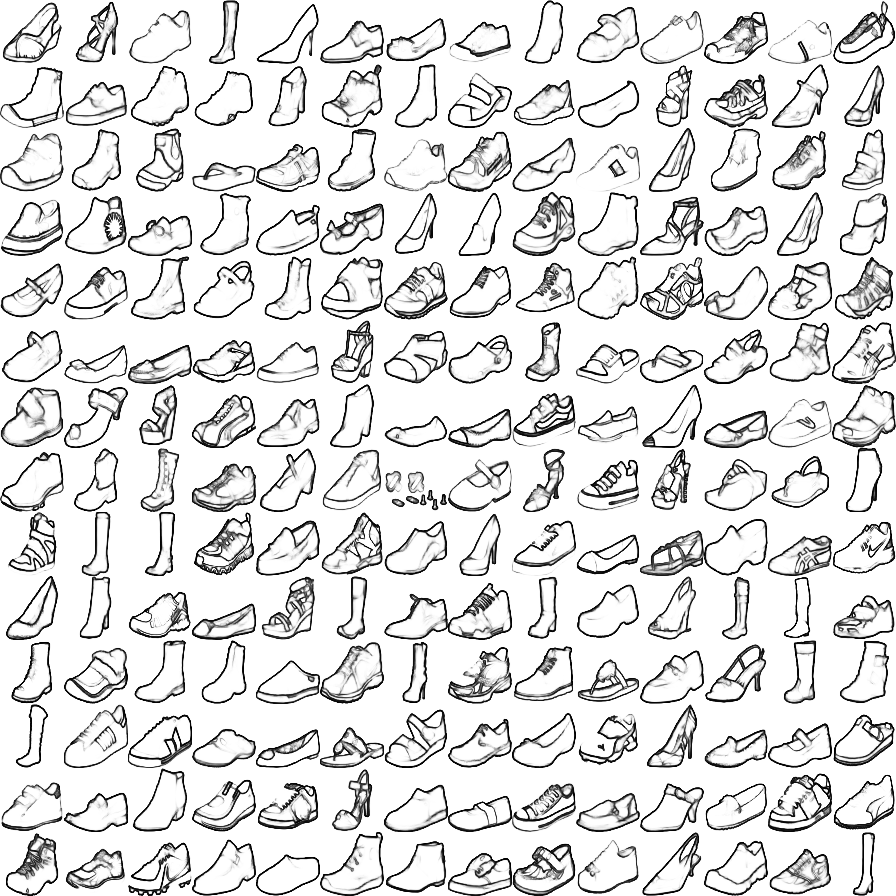
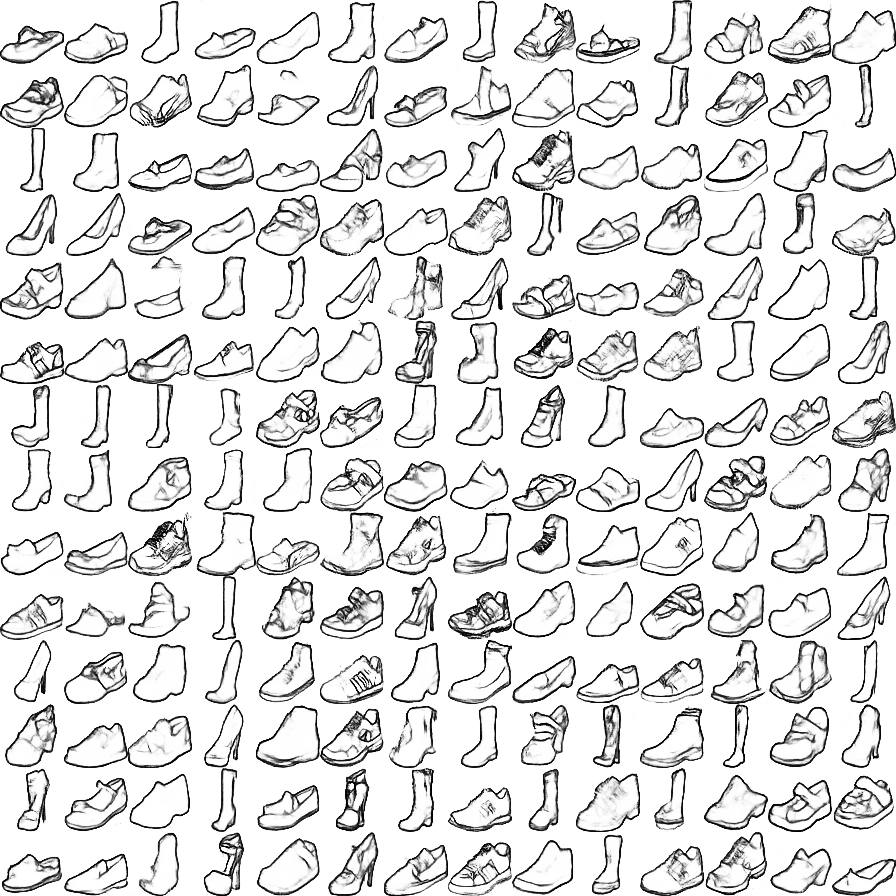
Download the Theano DCGAN model (e.g., outdoor_64). Before using our system, please check out the random real images vs. DCGAN generated samples to see which kind of images that a model can produce.
bash ./models/scripts/download_dcgan_model.sh outdoor_64
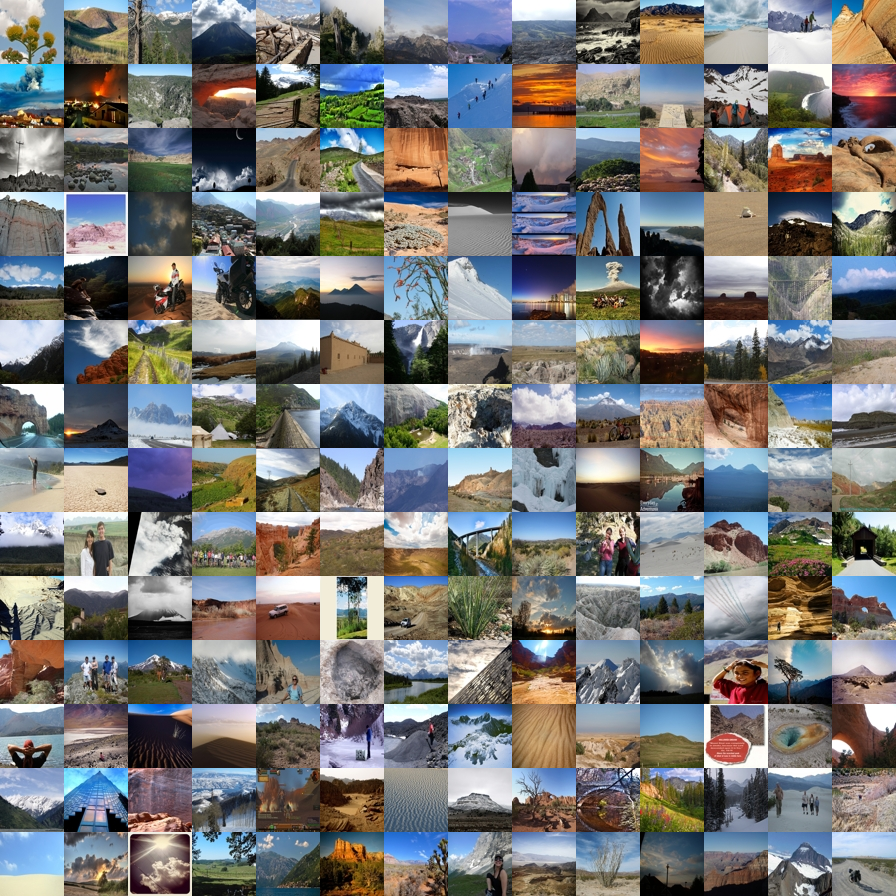
- ourdoor_64.dcgan_theano (64x64): trained on 150K landscape images from MIT Places dataset [Real vs. DCGAN].
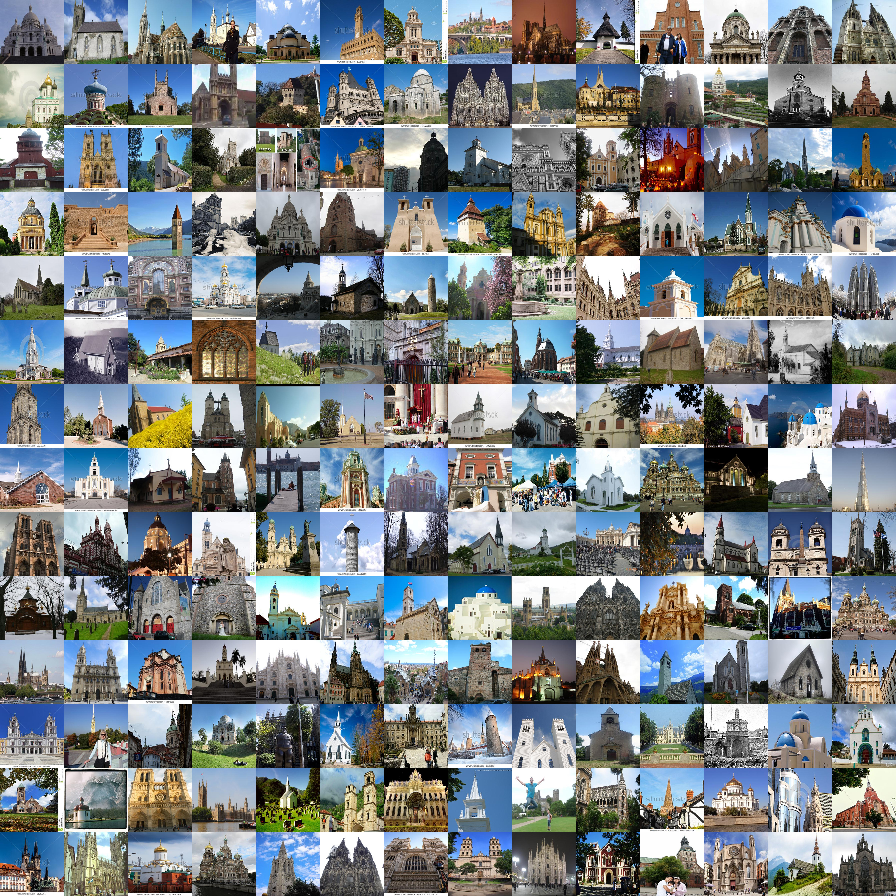
- church_64.dcgan_theano (64x64): trained on 126k church images from the LSUN challenge [Real vs. DCGAN].
- handbag_64.dcgan_theano (64x64): trained on 137K handbag images downloaded from Amazon [Real vs. DCGAN].
- shoes_64.dcgan_theano (64x64): trained on 50K shoes images collected by Yu and Grauman [Real vs. DCGAN].
- hed_shoes_64.dcgan_theano (64x64): trained on 50K shoes sketches (computed by HED) [Real vs. DCGAN]. (Use this model with
--shadowflag)
We provide a simple script to generate samples from a pre-trained DCGAN model. You can run this script to test if Theano, CUDA, cuDNN are configured properly before running our interface.
THEANO_FLAGS='device=gpu0, floatX=float32, nvcc.fastmath=True' python generate_samples.py --model_name outdoor_64 --output_image outdoor_64_dcgan.png
Command line arguments:
Type python iGAN_main.py --help for a complete list of the arguments. Here we discuss some important arguments:
--model_name: the name of the model (e.g., outdoor_64, shoes_64, etc.)--model_type: currently only supports dcgan_theano.--model_file: the file that stores the generative model; If not specified,model_file='./models/%s.%s' % (model_name, model_type)--top_k: the number of the candidate results being displayed--average: show an average image in the main window. Inspired by AverageExplorer, average image is a weighted average of multiple generated results, with the weights reflecting user-indicated importance. You can switch between average mode and normal mode by pressA.--shadow: We build a sketching assistance system for guiding the freeform drawing of objects inspired by ShadowDraw To use the interface, download the modelhed_shoes_64and run the following script
THEANO_FLAGS='device=gpu0, floatX=float32, nvcc.fastmath=True' python iGAN_main.py --model_name hed_shoes_64 --shadow --average
Dataset and Training
See more details here
Projecting an Image onto Latent Space
<img src='pics/predict.jpg' width=800>We provide a script to
Related Skills
qqbot-channel
385.6kQQ channel management skill. Use qqbot_channel_api for explicit QQ channel-management requests; confirm write, delete, and bulk actions before calling authenticated QQ Open Platform endpoints.
docs-writer
106.4kAlways use this skill when the task involves writing, reviewing, or editing files in the `/docs` directory or any `.md` files in the repository.
cpp
40.5kGuide Cursor to write modern C++ and CMake code with clear structure, RAII, const-correctness, and safe error handling.
gamemaker-gml
40.5kGameMaker Language (GML) rules for scripts, objects, events, rooms, data structures, and performance-minded game code