
sentinel-mcp
A 3-stage safety guardrail agent for LLM coding assistants (Claude Desktop, Cursor, CodeX) via MCP protocol.
Install / Use
claude mcp add fncreator22 -- npx -y github:fncreator22/sentinel-mcpIf the server publishes to npm under a different name, use that package instead — check the repo README.
MCP Server
Model Context Protocol server
Quality Score
Category
SecuritySupported Platforms
Skill content
View source on GitHubSentinel






A three-stage guardrail agent for LLM-powered coding assistants.
Sentinel sits between an LLM agent and its execution environment, reviewing every proposed action before it runs. It integrates with tools like Claude Code, Cursor, and CodeX via the Model Context Protocol (MCP), acting as an always-on safety layer that can block destructive commands, flag scope creep, and maintain a full audit trail of every decision.
Supports both Stdio (local process) and SSE (web endpoint) MCP transports for maximum compatibility.
🎬 Demo
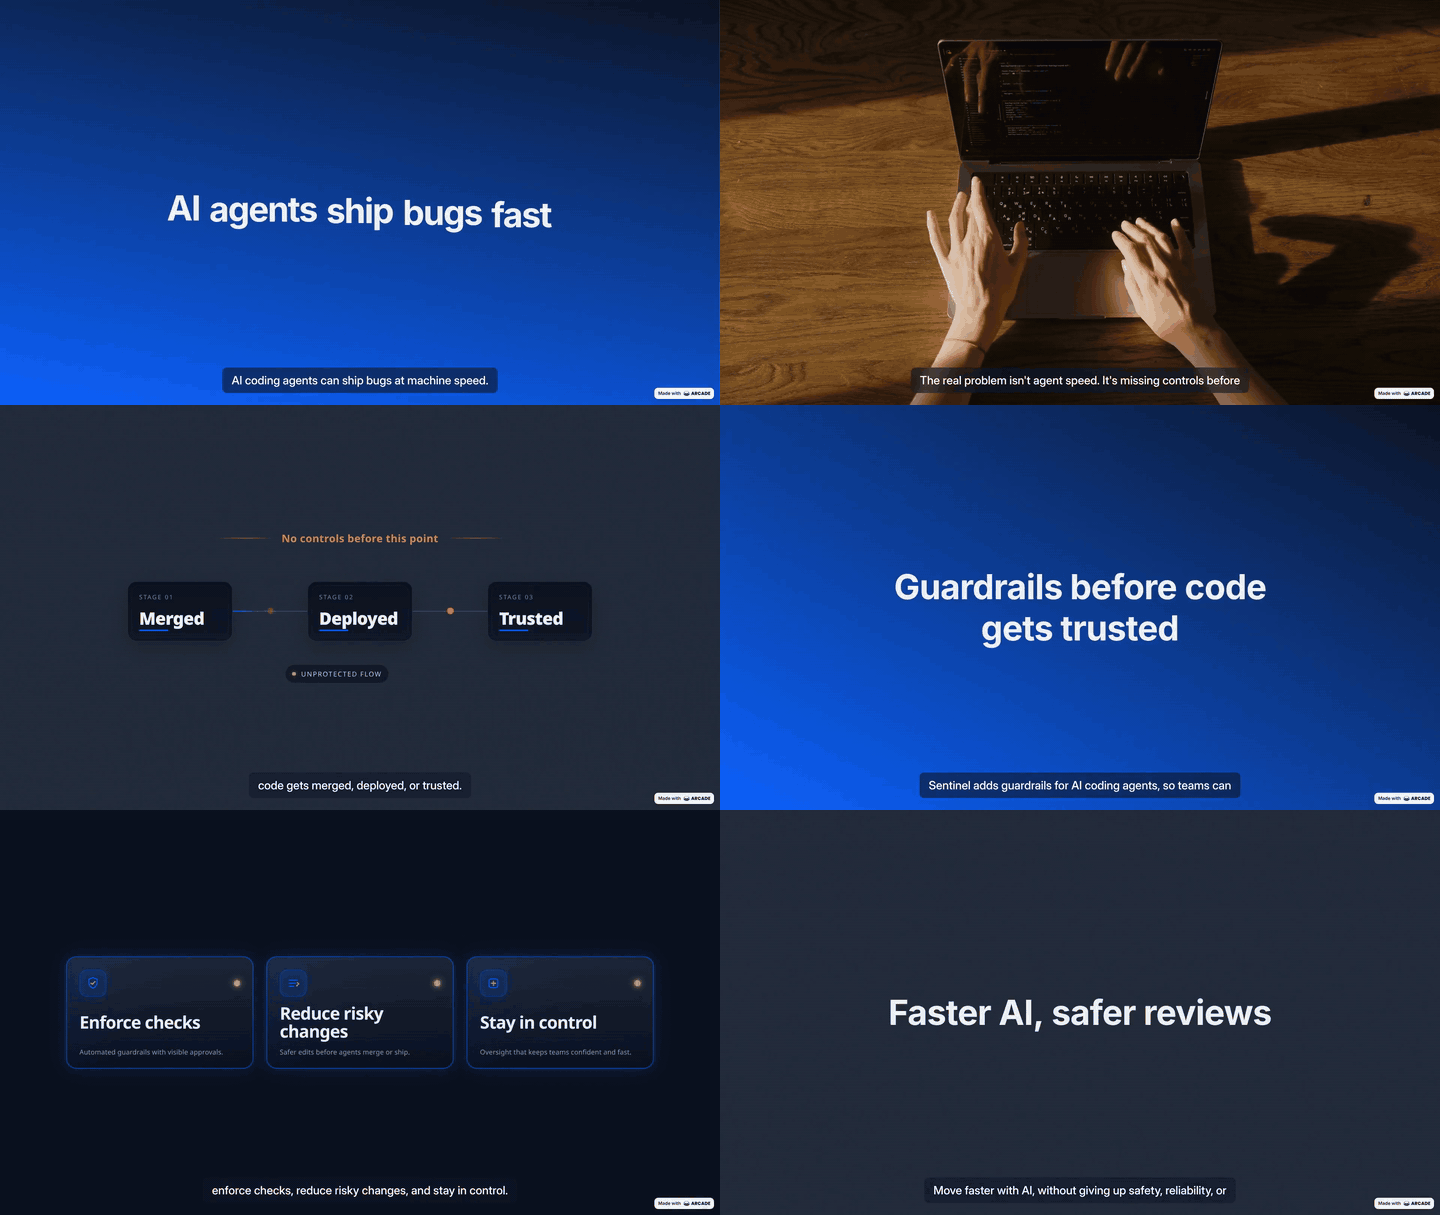
The Problem
Autonomous LLM coding agents can execute shell commands, modify files, push to remote repositories, and make network requests. This power comes with real risk: a single poorly-scoped prompt or a hallucinated action can cause data loss, expose credentials, or make irreversible changes to a production system.
Existing solutions are binary — either the agent runs everything without review, or a human must manually approve every step. Neither scales.
The Solution
Sentinel implements a multi-stage decision pipeline that handles the full spectrum from obviously safe to dangerously risky actions, using the fastest and most appropriate tool at each stage:
Stage 1 — Rules Engine: Deterministic pattern matching on a configurable YAML ruleset (config/rules.yaml). Handles unambiguous cases (recursive deletes, credential exposure, root-level writes) in microseconds with zero network dependency. Features mtime hot-reloading across all processes so rules updated in the dashboard take effect immediately in running MCP servers.
Stage 2 — Trained Classifier: A TF-IDF vectorizer and Logistic Regression classifier trained on a labeled dataset of agent actions. Runs in milliseconds, entirely offline, and produces an explainable risk score with confidence bounds.
Stage 3 — LLM Reviewer: For ambiguous actions that statistical models cannot resolve reliably, a large language model evaluates the action in the context of the user's stated task. This is the only stage that makes a network call, and it only activates when the previous stages are uncertain. Supports Ollama (local), OpenAI, Anthropic, and Google Gemini.
Architecture
MCP Client (Claude Code / Cursor / CodeX / Web UI)
        |
        +-- stdio transport (mcp_server/server.py)
        +-- SSE transport   (mcp_server/sse_server.py)
        |
        v
  api/main.py (FastAPI)        <- REST API, static /dashboard, audit log, config management
        |
        v
  sentinel_core/orchestrator.py
        |
        +-- Stage 1: sentinel_core/rules_engine.py   (config/rules.yaml - mtime hot-reload)
        +-- Stage 2: sentinel_core/classifier.py     (model_artifacts/model.pkl)
        +-- Stage 3: sentinel_core/llm_reviewer.py   (sentinel_core/model_manager.py)
        |
        v
  sentinel.db (SQLite)         <- append-only audit log
Classifier Performance
| Metric | Value | |---|---| | Training Examples | 828 (hand-labeled + synthetically generated) | | Class Balance | 58% safe / 42% risky | | 5-Fold Cross-Validation Accuracy | 76.3% ± 3.0% | | CV Macro-F1 Score | 75.9% ± 3.1% | | Hold-out Test Accuracy | 75.2% | | Risky Class Precision | 70% | | Safe Class Precision | 79% | | Confident Predictions (Stage 2 handles directly) | 40% of traffic | | Stage 3 LLM escalation rate | 60% of traffic |
The classifier's confidence threshold is set at 80%. Predictions above this threshold are resolved by Stage 2 without invoking the Stage 3 LLM, reducing average latency and eliminating API cost for 40% of all reviewed actions.
Top 5 features associated with risky actions: bash, delete, iptables, exec, secret
Top 5 features associated with safe actions: version, list, describe, test, check
Project Structure
sentinel/
├── api/
│   └── main.py                  FastAPI application, all HTTP endpoints
├── sentinel_core/
│   ├── orchestrator.py          Three-stage pipeline coordinator
│   ├── rules_engine.py          Stage 1: YAML rule matching
│   ├── classifier.py            Stage 2: sklearn inference
│   ├── llm_reviewer.py          Stage 3: LLM reasoning
│   ├── model_manager.py         Provider abstraction (Ollama / OpenAI / Anthropic / Gemini)
│   ├── audit_log.py             SQLite decision logger
│   └── model_artifacts/         model.pkl + vectorizer.pkl (gitignored)
├── mcp_server/
│   ├── server.py                MCP stdio server
│   └── sse_server.py            MCP SSE server (port 8002)
├── dashboard/
│   ├── index.html               Single-page control panel
│   ├── app.js                   Dashboard logic
│   └── style.css                Dashboard styles
├── config/
│   ├── rules.yaml               Stage 1 allow/block patterns
│   ├── model_config.yaml        Active provider and model selection
│   └── model_config.local.yaml  API keys (gitignored, never committed)
├── data/
│   └── training_examples.csv    Labeled dataset for Stage 2 training
├── train/
│   ├── train_classifier.py      Training script (scikit-learn)
│   └── generate_training_data.py  Synthetic training data generation
├── docs/
│   └── ARCHITECTURE.md          Internal design notes and rationale
├── start.bat                    Windows one-click launcher
├── Dockerfile                   Container image definition
└── requirements.txt
Design Decisions
Why three stages instead of one?
The design goal was to minimize latency and cost for the common case while preserving high-accuracy judgment for the ambiguous case. The vast majority of agent actions are either obviously safe (git status, npm install) or obviously risky (rm -rf /, git push --force). Routing both through an LLM would be slow and expensive. Routing both through a rules engine alone would miss the large middle ground.
The three-stage cascade solves this:
- Stage 1 handles the clear-cut cases deterministically, in microseconds, with no model in the loop. A pattern match on a known-dangerous string cannot hallucinate. This is the last line of defense for catastrophic commands.
- Stage 2 handles the statistical middle ground offline, in milliseconds, with an explainable coefficient-based model. We chose TF-IDF + Logistic Regression deliberately: the model trains in seconds on a CPU, produces inspectable coefficients, and is well-suited to short action text where risk is concentrated in specific keywords and n-grams. A neural network would add opacity without meaningfully improving the problem.
- Stage 3 handles genuine ambiguity — cases where context (the user's stated task, the scope of the session) matters more than surface-level tokens. This is where an LLM's reasoning ability adds real value, and it is the only stage that pays the latency and cost of a model call.
Why local-first for Stage 3?
We implemented Stage 3 with Ollama as the default to ensure that no action text leaves the user's machine unless they explicitly configure a cloud provider. This is important for codebases that may contain proprietary logic, internal hostnames, or sensitive file paths. The provider abstraction in model_manager.py makes it straightforward to switch to a cloud LLM without changing any Stage 3 logic.
Why a confidence threshold?
Stage 2 does not pass every prediction to Stage 3 — only predictions below an 80% confidence threshold. This gates the expensive network call behind a statistical signal. Predictions above the threshold are resolved by Stage 2 directly, which accounts for approximately 40% of all traffic in practice. The remaining 60% escalates to Stage 3, where LLM reasoning provides the most marginal value.
Setup & Quick Start
Step 1: Start Sentinel Backend & Dashboard
Windows (One-Click):
Double-click start.bat in the project root folder. The script will automatically:
- Create a Python virtual environment (
venv) if missing - Install required packages from
requirements.txt - Train the Stage 2 ML classifier if model pickles are missing.
- Launch the FastAPI backend on
http://localhost:8000 - Launch the SSE server on
http://localhost:8002 - Launch the Live Dashboard on
http://localhost:8080in your default browser
Manual / Linux / macOS Setup:
# 1. Create and activate virtual environment
python -m venv venv
source venv/bin/activate        # macOS/Linux (use venv\Scripts\activate on Windows)

# 2. Install dependencies
pip install -r requirements.txt

# 3. Train classifier model (first run only)
python train/train_classifier.py

# 4. Run API Server (Terminal 1)
python -m uvicorn api.main:app --port 8000 --reload

# 5. Run SSE MCP Server (Terminal 2)
python mcp_server/sse_server.py --port 8002

# 6. Run Dashboard UI (Terminal 3)
python -m http.server 8080 --directory dashboard
Step-by-Step Client Integration Guide
Sentinel seamlessly connects to any MCP-compliant AI assistant. Follow the exact step-by-step guide below for your platform:
1. Claude Desktop (Windows / macOS)
- Start Sentinel: Ensure
start.bator the backend services are running. - Open Configuration File:
- Windows: Open
%APPDATA%\Claude\claude_desktop_config.jsonin Notepad or VS Code. - macOS: Open
~/Library/Application Support/Claude/claude_desktop_config.json.
- Windows: Open
- Paste the Configuration:
Add
sentinelundermcpServerswith the absolute path to your Python virtual environment executable andmcp_server/server.py:{ "mcpServers": { "sentinel": { "command": "C:\\path\\to\\sentinel\\venv\\Scripts\\python.exe", "args": [ "C:\\path\\to\\sentinel\\mcp_server\\server.py" ], "env": { "PYTHONPATH": "C:\\path\\to\\sentinel" } } } } - Restart Claude Desktop: Completely close and relaunch Claude Desktop.
- Verify Connection:
- In Claude Desktop, click the Hammer 🔨 / Settings icon in the bottom right corner of the chat window, or go to Settings > Developer.
- You will see a blue badge reading
sentinel runningwith active toolsreview_actionandget_recent_decisions.
2. Cursor IDE (Stdio & SSE Transport)
- Open Cursor Settings: Open Cursor IDE, click Settings (Gear Icon) in the top right or press
Ctrl + ,/Cmd + ,. - Navigate to MCP: Select Features from the sidebar, then scroll down to MCP Servers.
- Add New Server:
- Click + Add New MCP Server.
- Name:
sentinel - Type: Select
SSE(recommended for zero sub-process overhead) orstdio. - URL / Command:
- For SSE: Enter
http://localhost:8002/sse. - For stdio: Set
commandto yourpython.exeandargstomcp_server/server.py.
- For SSE: Enter
- Verify: The status indicator will turn Green (Connected).
3. Claude Code CLI
- Locate Config: Open
~/.claude/claude_code_config.json(or project-level.claude/config.json). - Add MCP Server:
{ "mcpServers": { "sentinel": { "command": "python", "args": ["mcp_server/server.py"], "cwd": "/path/to/sentinel" } } } - Run Prompt: When Claude Code proposes command
Truncated for display — read the full file on GitHub.
Related Skills
Agent-Reach
84.7kGive your AI agent eyes to see the entire internet. Read & search Twitter, Reddit, YouTube, GitHub, Bilibili, XiaoHongShu — one CLI, zero API fees.
headroom
73.5kCompress tool outputs, logs, files, and RAG chunks before they reach the LLM. 20% fewer tokens for coding agents, 60-95% fewer tokens for JSON, same answers. Library, proxy, MCP server.
ruflo
73.1k🌊 The original agent harness. Deploy intelligent multi-player swarms, coordinate autonomous workflows, and build conversational AI systems. Features adaptive memory, self-learning intelligence, federation, vector RAG integration, and native Claude Code / Codex / Hermes and many more Integrated
CowAgent
47.1kOpen-source super AI assistant & Agent Harness. Plans tasks, runs tools and skills, self-evolves with memory and knowledge. Multi-agent, multi-model, multi-channel. Lightweight, extensible, one-line install.
