Caddymanager
Easily manage your Caddy2 servers using a modern web-UI, built on the MEVN stack.
Install / Use
/learn @caddymanager/CaddymanagerREADME
CaddyManager
Easily manage your Caddy2 servers using a modern web UI, built on the MEVN stack with support for both SQLite and MongoDB databases.
Caution: CaddyManager is in early development. Please backup your Caddy configurations and data before testing. Use at your own risk.
🚀 Features
- Dual Database Support:
- Choose between SQLite (default, zero-setup) or MongoDB for data storage.
- Multi-Server Management:
- Add, remove, and monitor multiple Caddy2 servers from a single dashboard.
- Configuration Editor:
- Create, edit, and validate Caddyfiles with syntax highlighting and templates.
- User Authentication:
- Secure login, JWT-based sessions, and role-based access control.
- API Key Management:
- Generate and revoke API keys for programmatic access.
- Audit Logging:
- Track all user and system actions for security and compliance.
- Real-Time Status:
- Live server health checks and status updates.
- Integrated Swagger API Docs:
- Explore and test backend APIs directly from the UI.
- Responsive Design:
- Works great on desktop and mobile devices.
📢 Status
This project is in active development, gearing up for a v0.1 release. Feedback and testing are appreciated!
🐳 Docker Compose Example
Below is the updated docker-compose.yml for running both backend and frontend. CaddyManager uses SQLite by default for zero-configuration setup, but you can optionally use MongoDB:
services:
  # MongoDB database for persistent storage (optional - SQLite is used by default)
  mongodb:
    image: mongo:8.0
    container_name: caddymanager-mongodb
    restart: unless-stopped
    environment:
      - MONGO_INITDB_ROOT_USERNAME=mongoadmin
      - MONGO_INITDB_ROOT_PASSWORD=someSecretPassword  # Change for production!
    ports:
      - "27017:27017"  # Expose for local dev, remove for production
    volumes:
      - mongodb_data:/data/db
    networks:
      - caddymanager
    profiles:
      - mongodb  # Use 'docker-compose --profile mongodb up' to include MongoDB

  # Backend API server
  backend:
    image: caddymanager/caddymanager-backend:latest
    container_name: caddymanager-backend
    restart: unless-stopped
    environment:
      - PORT=3000
      # Database Engine Configuration (defaults to SQLite)
      - DB_ENGINE=sqlite  # Options: 'sqlite' or 'mongodb'
      # SQLite Configuration (used when DB_ENGINE=sqlite)
      - SQLITE_DB_PATH=/app/data/caddymanager.sqlite
      # MongoDB Configuration (used when DB_ENGINE=mongodb)
      - MONGODB_URI=mongodb://mongoadmin:someSecretPassword@mongodb:27017/caddymanager?authSource=admin
      - CORS_ORIGIN=http://localhost:80
      - LOG_LEVEL=debug
      - CADDY_SANDBOX_URL=http://localhost:2019
      - PING_INTERVAL=30000
      - PING_TIMEOUT=2000
      - AUDIT_LOG_MAX_SIZE_MB=100
      - AUDIT_LOG_RETENTION_DAYS=90
      - METRICS_HISTORY_MAX=1000  # Optional: max number of in-memory metric history snapshots to keep
      - JWT_SECRET=your_jwt_secret_key_here  # Change for production!
      - JWT_EXPIRATION=24h
    # Backend is now only accessible through frontend proxy
    volumes:
      - sqlite_data:/app/data  # SQLite database storage
    networks:
      - caddymanager

  # Frontend web UI
  frontend:
    image: caddymanager/caddymanager-frontend:latest
    container_name: caddymanager-frontend
    restart: unless-stopped
    depends_on:
      - backend
    environment:
      - BACKEND_HOST=backend:3000
      - APP_NAME=Caddy Manager
      - DARK_MODE=true
    ports:
      - "80:80"  # Expose web UI
    networks:
      - caddymanager

networks:
  caddymanager:
    driver: bridge

volumes:
  mongodb_data:  # Only used when MongoDB profile is active
  sqlite_data:   # SQLite database storage

# Notes:
# - SQLite is the default database engine - no additional setup required!
# - To use MongoDB instead, set DB_ENGINE=mongodb and start with: docker-compose --profile mongodb up
# - For production, use strong passwords and consider secrets management.
# - The backend uses SQLite by default, storing data in a persistent volume.
# - The frontend proxies all /api/* requests to the backend service.
# - Backend is not directly exposed - all API access goes through the frontend proxy.
🧩 Environment Variables
Frontend (frontend/.env)
Create a .env file in the frontend/ directory with the following variables:
API_BASE_URL=http://localhost:3000/api/v1
APP_NAME=Caddy Manager
DARK_MODE=true
API_BASE_URL: The base URL for backend API requests - should be the url for your backend apiAPP_NAME: The display name for the app UI.DARK_MODE: Set totrueto enable dark mode by default. Currently not integrated fully.
Backend (backend/.env)
Create a .env file in the backend/ directory with the following variables:
PORT=3000
# Database Engine Configuration
DB_ENGINE=sqlite  # Options: 'sqlite' or 'mongodb'
# SQLite Configuration (used when DB_ENGINE=sqlite)
SQLITE_DB_PATH=./caddymanager.sqlite
# MongoDB Configuration (used when DB_ENGINE=mongodb)
MONGODB_URI=mongodb://mongoadmin:someSecretPassword@localhost:27017/caddymanager?authSource=admin
CORS_ORIGIN=http://localhost:5173
LOG_LEVEL=debug
CADDY_SANDBOX_URL=http://localhost:2019
PING_INTERVAL=30000
PING_TIMEOUT=2000
AUDIT_LOG_MAX_SIZE_MB=100
AUDIT_LOG_RETENTION_DAYS=90
JWT_SECRET=your_jwt_secret_key_here  # Change for production!
JWT_EXPIRATION=24h
PORT: Port for the backend server.DB_ENGINE: Database engine to use (sqliteormongodb). Defaults tosqlite.SQLITE_DB_PATH: Path to SQLite database file (used whenDB_ENGINE=sqlite).MONGODB_URI: MongoDB connection string (used whenDB_ENGINE=mongodb).CORS_ORIGIN: Allowed origin for frontend requests - should be the url of your frontend.LOG_LEVEL: Logging verbosity.CADDY_SANDBOX_URL: URL for the Caddy sandbox server (for testing) and/or validating configs.PING_INTERVAL/PING_TIMEOUT: Health check intervals (ms).AUDIT_LOG_MAX_SIZE_MB/AUDIT_LOG_RETENTION_DAYS: Audit log settings.METRICS_HISTORY_MAX: Optional max number of in-memory metric history snapshots to keep (default: 1000).JWT_SECRET/JWT_EXPIRATION: JWT credential settings
Note: The default CaddyManager user when first creating the app is
adminwith passwordcaddyrocks. You can change this after logging in.
Tip: Copy
.env.exampleto.envin each directory and adjust values as needed for your environment.
🗄️ Database Options
CaddyManager supports two database engines:
SQLite (Default)
- Zero Configuration: Works out of the box, no setup required
- Single File: All data stored in a single
.sqlitefile - Perfect for: Small to medium deployments, development, testing
- Automatic Setup: Creates admin user (
admin/caddyrocks) on first run
MongoDB
- Scalable: Better for high-traffic, multi-user environments
- Perfect for: Large deployments
- Setup Required: Requires MongoDB server installation
To switch between databases, simply change the DB_ENGINE environment variable and restart the backend.
📚 Documentation
- Caddy Documentation
- CaddyManager Docs
- Swagger API Docs (after starting backend)
📈 Metrics & Prometheus
This project exposes runtime and application metrics that can be scraped by Prometheus or fetched as JSON for dashboards.
- Prometheus exposition endpoint (text format):
/api/v1/metrics/prometheus - JSON metrics (aggregated):
/api/v1/metrics
Minimal Prometheus scrape fragment (add under scrape_configs: in your prometheus.yml):
- job_name: 'caddymanager'
  metrics_path: /api/v1/metrics/prometheus
  static_configs:
    - targets: ['localhost:3000']
Quick test (returns Prometheus text format):
curl http://localhost:3000/api/v1/metrics/prometheus
Notes:
- The in-memory metric history size is controlled by the
METRICS_HISTORY_MAXenv var (default shown in the Docker Compose example). - If you run Prometheus behind a proxy or need auth headers, adjust the scrape job accordingly.
🤝 Contributing
Contributions are welcome! Please open issues and pull requests to help improve CaddyManager.
📦 Tech Stack
- Frontend: Vue 3, Vite, Pinia, Vue Router
- Backend: Node.js, Express
- Database: SQLite (default) or MongoDB
- Caddy Integration: RESTful API for Caddy2 server management
🧪 Development: Caddy Test Servers
For local testing with real Caddy servers, see development/USAGE.md for scripts to:
- Build and run a custom Caddy sandbox server with popular plugins
- Spin up multiple vanilla Caddy servers for multi-server testing
🛠️ Getting Started using local development environment
- Clone the repository:
git clone https://github.com/YOUR_USERNAME/caddymanager.git cd caddymanager - Install dependencies:
cd backend && npm install cd ../frontend && npm install - Configure environment (optional):
- SQLite works out of the box with no configuration needed!
- For custom settings, copy
.env.exampleto.envin bothbackend/andfrontend/directories
- Run the app:
- Start backend:
cd backend && npm start - Start frontend:
cd frontend && npm run dev
- Start backend:
- Login:
- Default admin credentials:
admin/caddyrocks
- Default admin credentials:
🖥️ How to Use CaddyManager
-
Access the Web UI:
- Open your browser and go to
http://localhost(or the address where your frontend is running).
- Open your browser and go to
-
Sign In:
- Log in using the default admin credentials (
admin/caddyrocks).
- Log in using the default admin credentials (
-
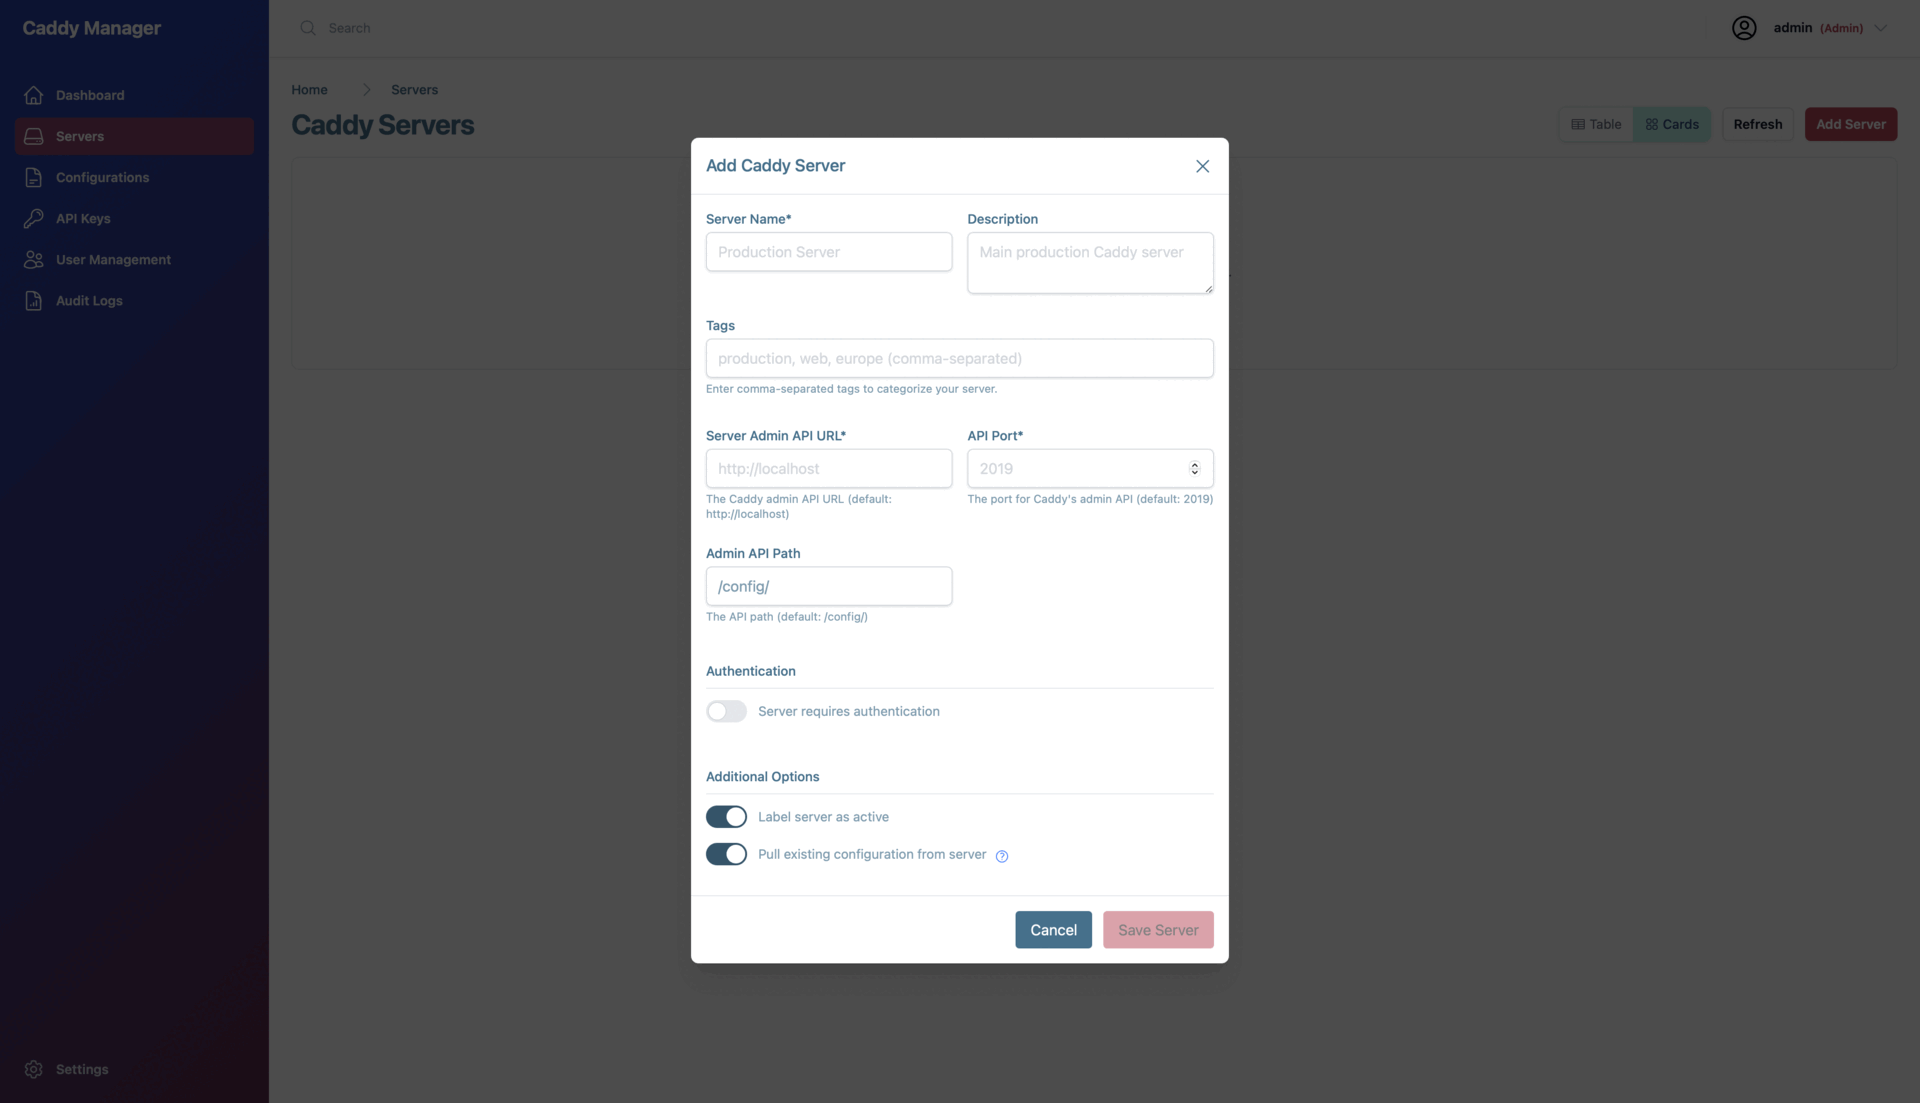
Add and Manage Servers:
