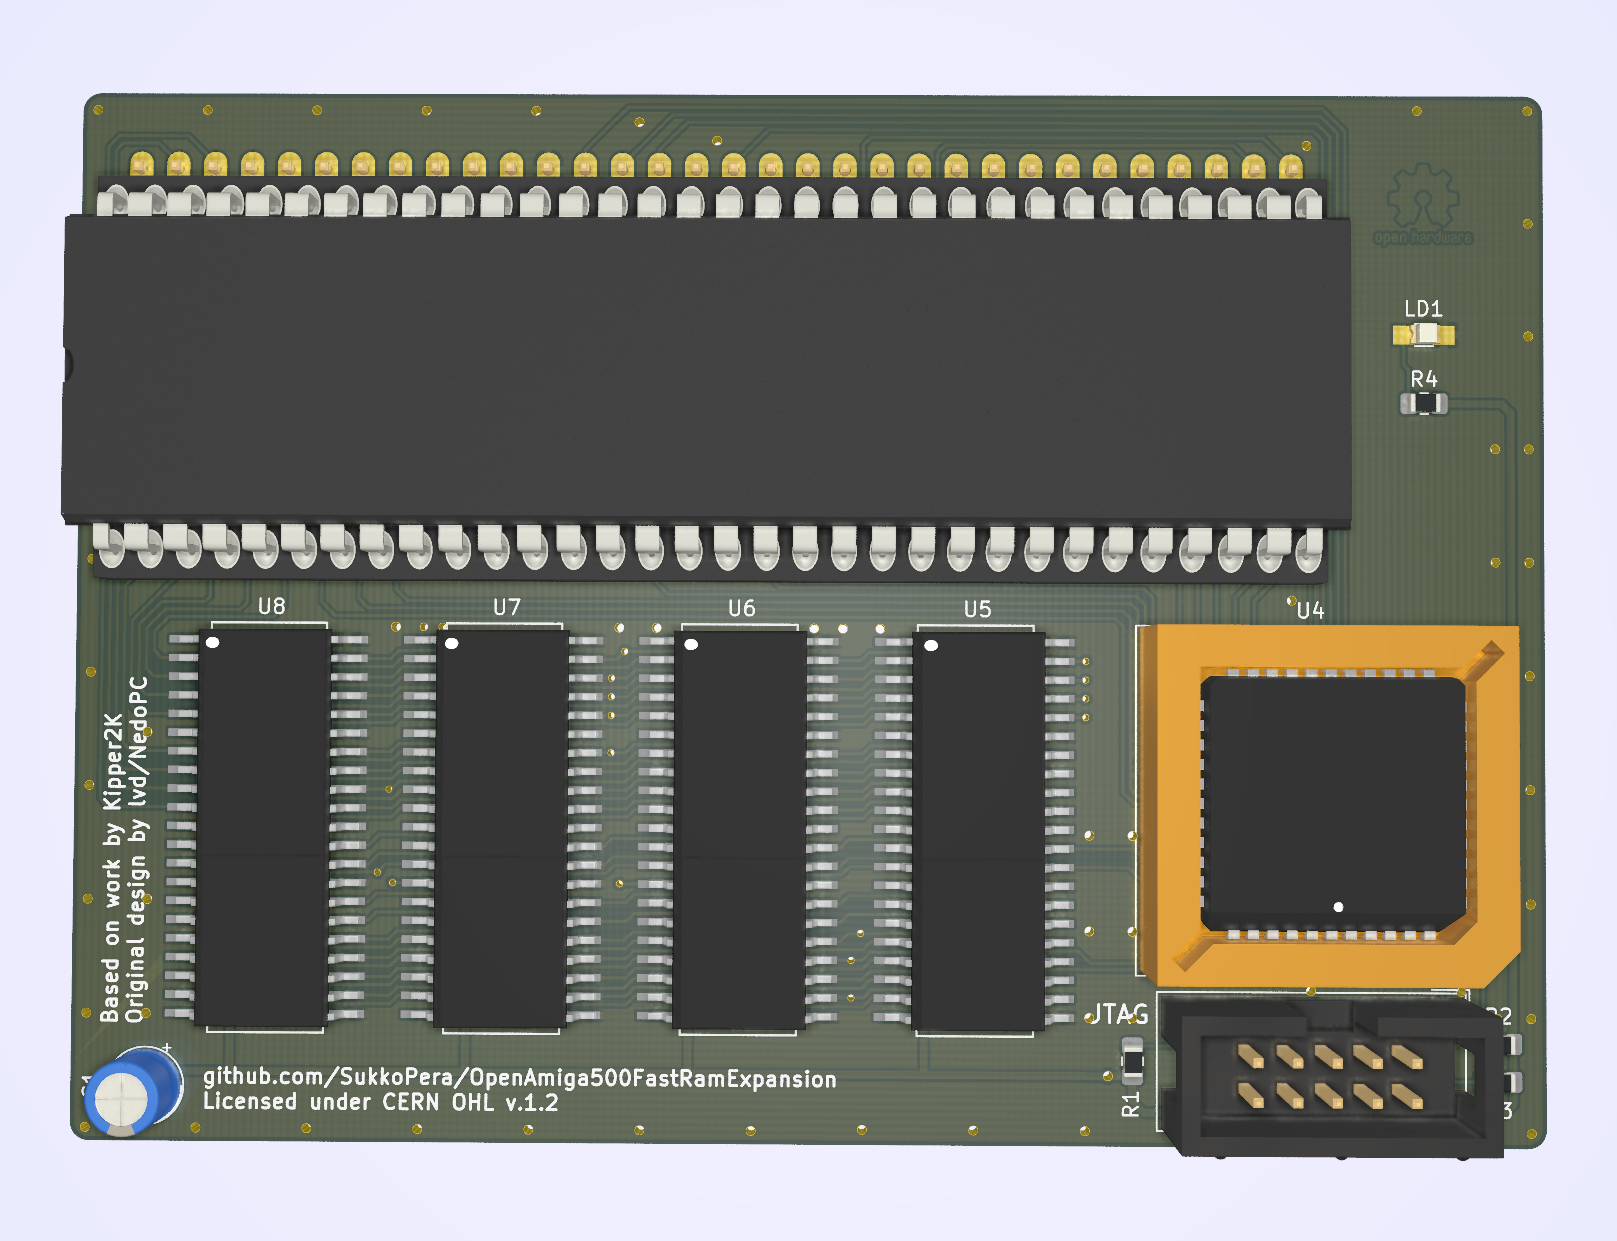
OpenAmiga500FastRamExpansion
4/8 MB Fast RAM Expansion for the Commodore Amiga 500
Install / Use
/learn @SukkoPera/OpenAmiga500FastRamExpansionREADME
OpenAmiga500FastRamExpansion
OpenAmiga500FastRamExpansion is an Open Hardware 4/8 MB Fast RAM Expansion for the Commodore Amiga 500 Computer.
Summary
Most low-end Amiga models only came with Chip RAM. "Big Box" models allowed for a different type of memory to be installed, known as Fast RAM, where fast means that it's dedicated to the main processor, so that it doesn't have to compete with the other chips in order to gain access to it (as is the case with Chip RAM). While both Chip and Fast RAM are limited in size, you can have at least a few MB of the latter on all Amigas (usually up to 8), while the former can never exceed 2 MB.
OpenAmiga500FastRamExpansion will allow you to add 4 or 8 MB of Fast RAM to your Amiga 500. This way you will be able to run more applications at once and more quickly. If you combine it with a chip RAM expansion, you will also be able to run almost all games supported by WHDLoad, pushing your Amiga to its limits.
OpenAmiga500FastRamExpansion is basically a clone of a RAM expansion produced by Kipper2K a few years ago, based on an earlier design by lvd/NedoPC. He has since stopped producing and selling these cards and I thought it was a pity that he didn't open his designs and actually took all of them down, as this card is quite cheap to build and really useful. So I set about recreating it from scratch.
Memory Compatibility
The required RAM Type is 16 Mbit (1M×16) DRAM in the SOJ-42 package with up to 70-80 ns access time. It is 5v-only DRAM (not SD(!)RAM) often found in old 72-pin SIMMs, EDO chips might work or not. All chips having 8160 in their part number should be OK.
|Model |Maker |Tested |Working |Data Sheet |Notes |
|---------------|------------------|:-----------------:|:-----------------:|:-------------------------------------------------------------------------------------------------------------------------------------------------------------------------:|-------------------------------------------------------------------------------------|
|AS4C1M116E5 |Alliance | || |Tested by @Homer799 |
|GM71C18160 |Hynix/LGS |||
|| |Tested by @Homer799 |
|GM71C18160 |Hynix/LGS ||| |Tested by lvd in his original project |
|HY5118164B |Hynix ||| |Tested by @Sgw32 |
|KM416C1200AJ |SEC ||| |Reported working by Ronald Baer |
|KM416C1204AJ/BJ|SEC ||| |Reported working by screwbreaker |
|MSM5118160 |OKI ||| |Tested by lvd in his original project |
|TMS41860DZ |Texas Instruments ||| |Reported working by Ronald Baer |
|TMS41869DZ |Texas Instruments |
|Tested by lvd in his original project |
|HY5118164B |Hynix ||| |Tested by @Sgw32 |
|KM416C1200AJ |SEC ||| |Reported working by Ronald Baer |
|KM416C1204AJ/BJ|SEC ||| |Reported working by screwbreaker |
|MSM5118160 |OKI ||| |Tested by lvd in his original project |
|TMS41860DZ |Texas Instruments ||| |Reported working by Ronald Baer |
|TMS41869DZ |Texas Instruments | | | | |
|4218160 |NEC ||| |Reported working by Ronald Baer |
|4218165 |NEC ||| |Tested by SukkoPera |
|VG2618165BJ |Vanguard ||| |Tested by @Csordi |
|NN5118160AJ-60 |NPN ||| |Tested by @RipZ |
| | | |
|4218160 |NEC ||| |Reported working by Ronald Baer |
|4218165 |NEC ||| |Tested by SukkoPera |
|VG2618165BJ |Vanguard ||| |Tested by @Csordi |
|NN5118160AJ-60 |NPN ||| |Tested by @RipZ |
RAM chips can either be soldered directly to the board or installed in sockets. While soldering the chips might not be trivial for the unexperienced, sockets for the SOJ-42 package are hard to find and not really easier to solder either, so the choice is up to you.
Assembly and Installation
Normally it is not necessary to mount all the decoupling capacitors. I usually skip C4, C5, C9, C12, C15 and C18. Maybe C1 can be left out as well if you have a good power supply, your choice. R4 must be chosen according to the particular led you will be using for LD1. Actually you are free to skip LD1 and R4 altogether, if you hate power LEDs.
After everything has been soldered, you will need to program the CPLD. Whenever you do so, make sure to carefully remove the board from your Amiga, or you might risk damaging it. You can find the firmware here, along with instructions on how to flash it. You can provide power through the pads of C1 if you need to do so.
Make sure to use the correct firmware version, according to how many chips you soldered on the board! For the 4 MB version, solder U7 and U8 only and use the dedicated firmware.
When assembly is complete, open your A500 and remove the top shield. Carefully remove the CPU (largest chip at bottom left of the board), using a chip extractor or a small flat screwdriver, taking care not to break/bend any pins. Plug it on the board, matching the orientation, and plug the whole board in the CPU socket.
Before reassembling your case, I recommend to run SysTest/Amiga Test Kit. Use the Memory option (<kbd>F1</kbd>), it must show 4/8 MB of Fast RAM. Then start the Memory Test (<kbd>F1</kbd> again) and let it run for 50-100 rounds: if it doesn't find any errors, you are probably good to go. If you get any errors, check your solder joints, starting from actual the RAM chips, as the SOJ package is not very hand-soldering-friendly.
Firmware
If you are using Kickstart 2.x or higher you should use the latest V2 firmware here noting that it requires an ATF1504AS rather than the older version's ATF1502
If you are using Kickstart 1.3 you will need to use the V1 Firmware here
V2 Firmware new features
Thanks to two new features this board is compatible with other autoconfig devices and should no longer cause any conflicts
- Autoconfig snooping - This board will configure itself after every other Autoconfig device
- Autosizing - The firmware will shrink the configured size automatically to make it fit within the remaining free memory pool (8M/4M/2M/1M).
V1 Firmware Limitations
The V1 Firmware for OpenAmiga500FastRamExpansion only has a partial implementation of the AutoConfig protocol. This has the following consequences:
- On the A500 it will only work if nothing is connected to the side expansion port (or if whatever is connected does NOT use AutoConfig).
- On the A2000 it will only work if nothing is installed in the Zorro expansion slots (again: or if whatever you installed there does not use AutoConfig).
- On the CDTV it just won't work (since the DMAC uses AutoConfig and is built-in.)
Because of these limitations it is recommended to use the new Firmware where possible, this will allow your board to coexist with other Autoconfig devices. If you cannot use the V2 firmware for some reaso
