Nibble
Open Source Nibble Release
Install / Use
/learn @RetiaLLC/NibbleREADME
Nibble
Open Source Nibble Release
Follow the assembly guide here:
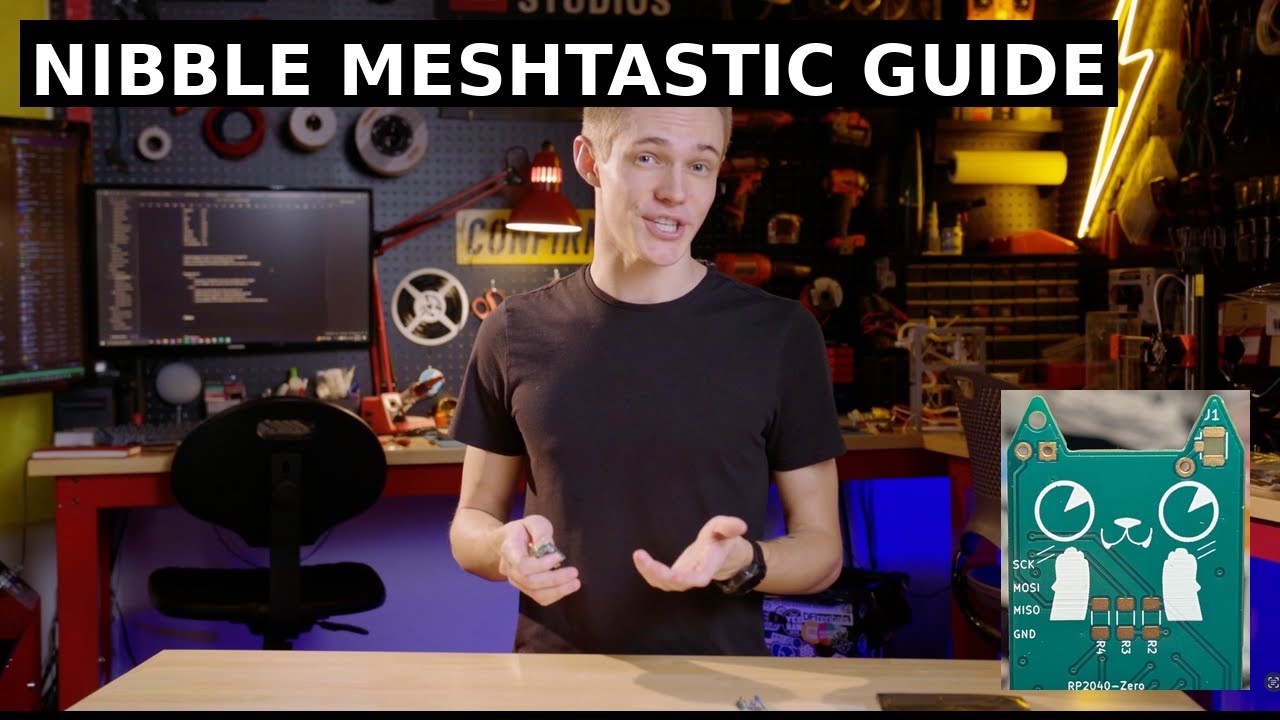
My talk on Meshtastic:
Meshtastic Config (Compile your own firmware)
RP2040: https://github.com/Sparkling-Ice/retia-boards/tree/main/variants/retia-nibble/nibble-rp2040
ESP32s3: https://github.com/Sparkling-Ice/retia-boards/tree/main/variants/retia-nibble/nibble-esp32
LoRa Nibble
The Nibble is a small, open source LoRa radio node designed to be your first piece of off-grid infrastructure. It was created by Kody Kinzie and the Retia team (Zac Beran, Felix Orozco) for the 2024 Chaos Communication Congress in Germany and released as open hardware at the 2025 Hackers On Planet Earth conference.
Over 500 Nibbles have been made worldwide, and the design is shared here so you can build your own. The board is sized to fit inside a 1 inch PVC pipe, making it easy to weatherproof and deploy as a permanent or portable infrastructure node.
Features
- Fits inside standard 1 inch PVC pipe for protection and mounting
- Works with Meshtastic for off-grid communication
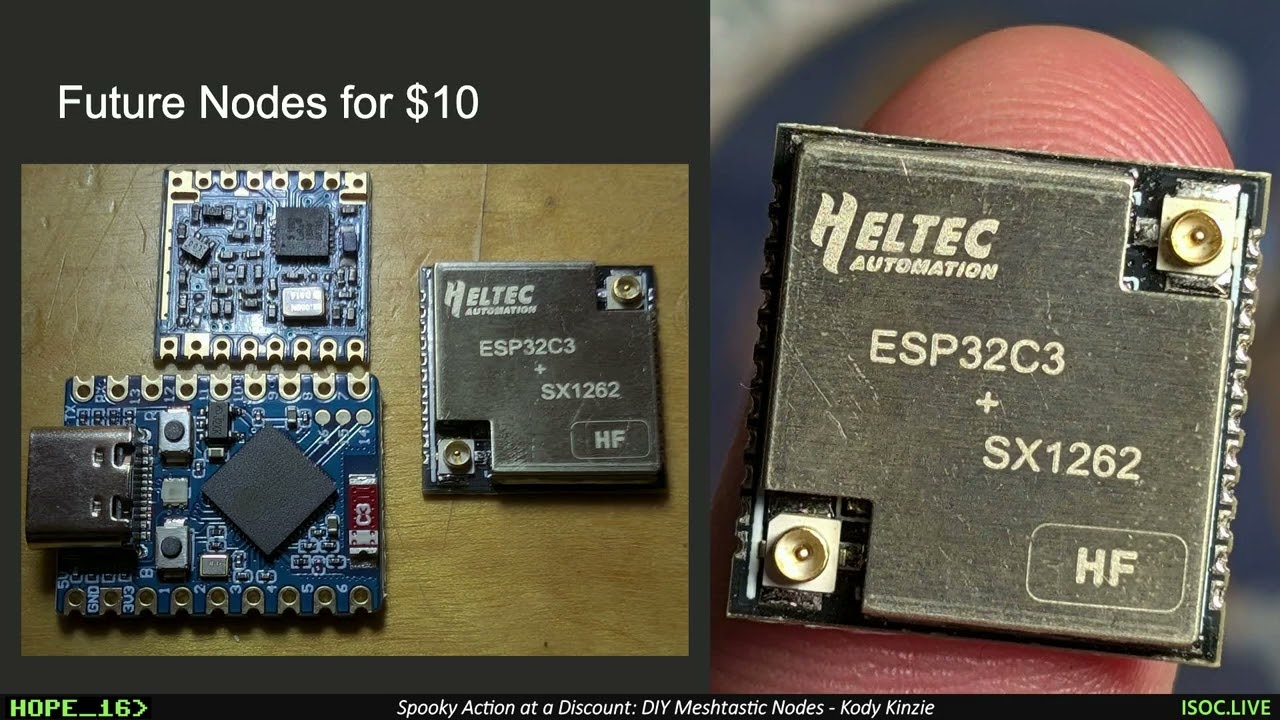
- Supports either ESP32-S3 (Wi-Fi/Bluetooth) or RP2040 (low power) microcontrollers
- Uses RFM95 LoRa modules (868 MHz EU or 915 MHz US)
- Expandable with I²C sensors for telemetry
- Supports private channels, GPS sharing, and sensor reporting
- Open source hardware and firmware
Bill of Materials
- 1x Nibble PCB (order from JLCPCB, PCBWay, OSH Park, etc.)
- 1x Microcontroller (ESP32-S3 or RP2040)
- 1x RFM95 LoRa radio module (868 MHz or 915 MHz)
- 1x Spring antenna or U.FL connector and external antenna
- 1x 330 Ω resistor
- 2x 10k Ω resistors
- 1x LED indicator
Tools required: soldering iron, solder, tweezers or pliers, and a laptop with USB-C cable.
Assembly Instructions
- Solder the resistors (330 Ω and two 10k Ω).
- Install the microcontroller into the designated footprint. Only one microcontroller can be used at a time.
- Use ESP32-S3 if you want Bluetooth and Wi-Fi connectivity.
- Use RP2040 if you want a lower power build for solar or battery use.
- Solder the LoRa radio module. Align it carefully with the silkscreen outline.
- Solder the antenna connector. Use either the spring antenna or the U.FL connector, not both.
- Solder the LED indicator. The negative leg goes to the square pad.
⚠️ Important: Always connect an antenna before powering or transmitting. Running the board without one can permanently damage the radio.
Firmware Installation
ESP32-S3
- Visit nugget.dev.
- Hold the BOOT (B) button while plugging in the board.
- Select your Nibble from the device list.
- Select the Nibble Meshtastic firmware from the list.
- Once uploaded, unplug and reconnect the board.
RP2040
- Download the
.uf2firmware from the Retia GitHub release page. - Hold the BOOTSEL button while plugging in the board.
- The board mounts as a USB drive.
- Drag and drop the
.uf2file onto the drive. The board will reboot automatically.
Meshtastic Setup
- Connect to the Nibble using the Meshtastic app or via USB serial.
- Bluetooth default PIN (ESP32 only):
123456.
- Bluetooth default PIN (ESP32 only):
- Set your region (US915 or EU868).
- Give the device a short name and long name.
- Join or create a private channel. You can share access with friends using QR codes.
Example Uses
- Off-grid communication at festivals or protests
- Emergency infrastructure during natural disasters
- Remote telemetry for weather stations
- GPS tracking in outdoor environments
- Long range remote control or IoT projects
Community and Resources
- Flashing Firmware: GitHub Releases
- Meshtastic documentation: meshtastic.org
- Community projects and support: Retia Discord
Project Images
Front & Back


Kit & Sensor


Schematic

Related Skills
node-connect
347.0kDiagnose OpenClaw node connection and pairing failures for Android, iOS, and macOS companion apps
frontend-design
107.8kCreate distinctive, production-grade frontend interfaces with high design quality. Use this skill when the user asks to build web components, pages, or applications. Generates creative, polished code that avoids generic AI aesthetics.
openai-whisper-api
347.0kTranscribe audio via OpenAI Audio Transcriptions API (Whisper).
qqbot-media
347.0kQQBot 富媒体收发能力。使用 <qqmedia> 标签,系统根据文件扩展名自动识别类型(图片/语音/视频/文件)。

Security Score
Audited on Apr 1, 2026