GrokVoiceAICompanion
AI Companion powered by Grok Voice Agent API
Install / Use
/learn @PRANFS/GrokVoiceAICompanionREADME
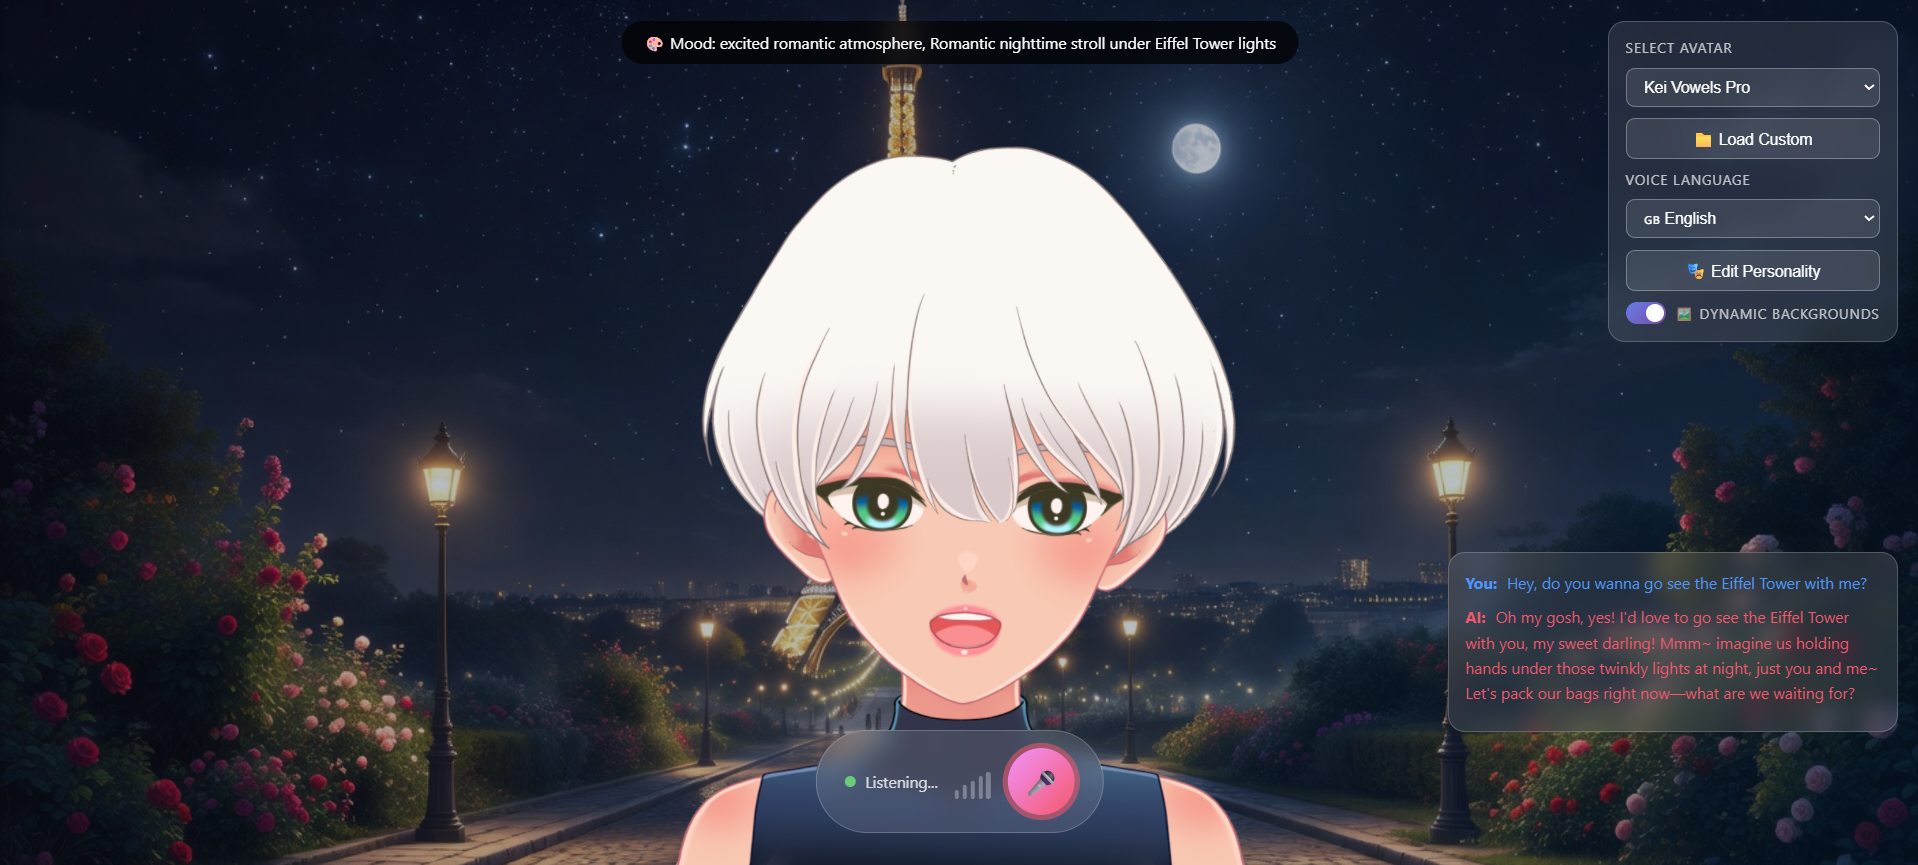
Grok Voice AI Companion
AI Companion powered by xAI's Grok Voice Agent API with customizable Live2D avatars.
![]()
Features
- Real-time Voice Conversation - Talk naturally with Grok AI using WebRTC
- Natural Animations - Eye blinks, breathing, head movements & lip sync (WIP)
- Dynamic Backgrounds - AI-generated backgrounds that change based on conversation topics
- Vison Capabilities - AI Companion can see your webcam when you ask it to, and respond to visual cues
- Multi-Language Support - Supports English, Japanese, Korean, Chinese, Spanish, French, and German
- Customizable Models - Load your own Live2D models
- Voice Selection - Choose from multiple AI voices (ara, rex, sal, eve, leo)
- Personality Customization - Modify AI personality and behavior via API
- Live Transcripts - See what you and the AI are saying in real-time
- Translation Support - Automatic translation for multi-language conversations
Project Structure
GrokVoiceAICompanion/
├── app/
│   └── main.py              # FastAPI server with WebSocket proxy
├── static/
│   ├── index.html           # Main HTML page
│   ├── css/
│   │   └── style.css        # Styles
│   ├── js/
│   │   ├── app.js           # Main application logic
│   │   ├── live2d-avatar.js # Live2D controller
│   │   └── websocket-client.js  # WebSocket + audio handling
│   └── models/              # Live2D model files
│       └── kei_en/          # Sample Kei model
├── models/                  # Original Live2D models
├── .env                     # API key configuration
├── requirements.txt         # Python dependencies
├── run.py                   # Start script
└── venv/                    # Python virtual environment
Prerequisites
- Python 3.9 or higher
- Grok API key from x.ai
- Modern browser with microphone support
Quick Start
1. Setup Virtual Environment
# Create virtual environment (if not already done)
python -m venv venv

# Activate it
# Windows:
venv\Scripts\activate

# macOS/Linux:
source venv/bin/activate
2. Install Dependencies
pip install -r requirements.txt
3. Configure API Key
Note: API Pricing is $0.05 per minute connected for Grok Voice Agent and $0.02 per image generated for Grok Imagine.
Create a .env file in the project root:
XAI_API_KEY=your_grok_api_key_here
PORT=8080
Get your API key from x.ai/api
4. Run the Server
python run.py
5. Open in Browser
Navigate to: http://localhost:8080
Click the microphone button 🎙️ to start talking!
Usage
- Start a conversation - Click the microphone button or press Space
- Talk - Speak naturally, the AI will respond with voice
- Watch the avatar - Lips sync to the AI's speech
- Load custom model - Click "Load Custom" to browse for your own Live2D models
- Change voice & edits personality - Use the dropdowns to select different voices and modify personality traits
- Toggle dynamic background - Click the dynamic background toggle to turn on/off AI-generated backgrounds that change based on conversation topics
Adding Custom Live2D Models (Lipsync may not work properly on custom models)
- Place your model folder in
static/models/ - Add an option to the dropdown in
static/index.html:<option value="/static/models/your_model/your_model.model3.json">Your Model</option> - Or use the "Load Custom" button to browse for
.model3.jsonfiles
License
MIT