Fdskey
Famicom Disk System drive emulator
Install / Use
/learn @ClusterM/FdskeyREADME
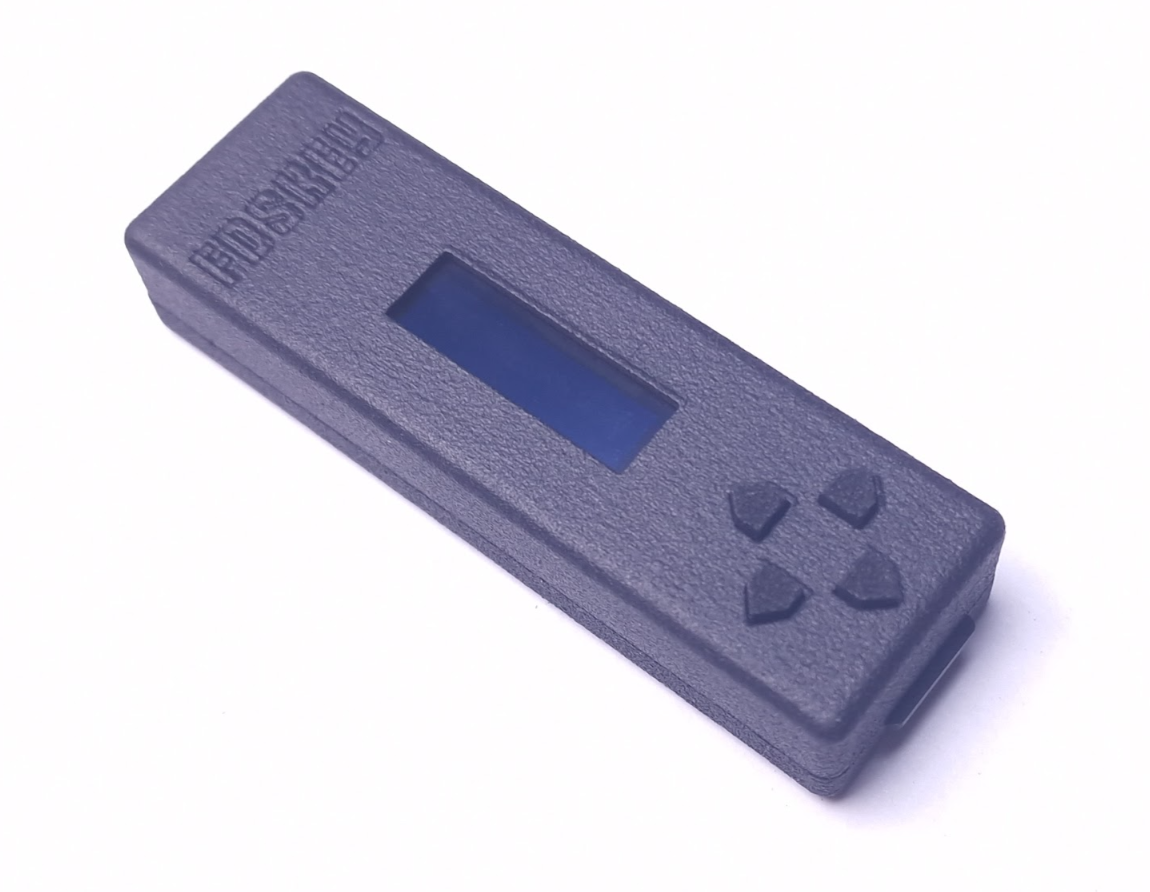
FDSKey
An open-source, low-cost, and easy-to-build Famicom Disk System drive emulator featuring a sleek OLED display.
How you can use it:
- You can run Famicom Disk System disk images from a microSD card
- You can dump disks using a physical FDS drive without additional hardware/cables
- You can write disks using a physical FDS drive without additional hardware/cables
Requirements:
- Famicom
- Famicom Disk System RAM adaptor
- microSD card
How to build it
You'll need a few low-cost components.
Circuit diagram

Bill of materials

Components
- PCB
The PCB is designed in the DipTrace software.
You can have it produced at any PCB factory (e.g. jlcpcb.com or PCBWay) using gerber files. PCB properties:
- PCB thickness: 1.6mm
- Gold fingers are recommended
- STM32G0B0CET (or any STM32G0B0CETxxx) microcontroller
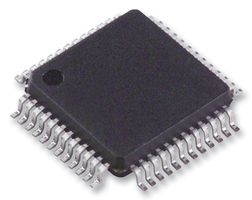
You can easily find it on mouser.com or taobao.com.
- OLED display module
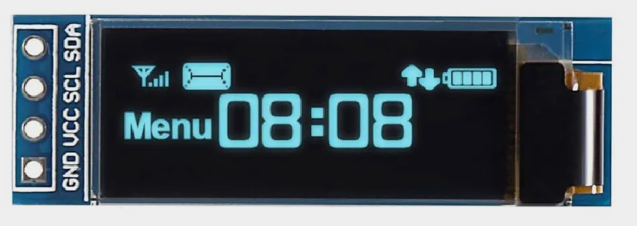
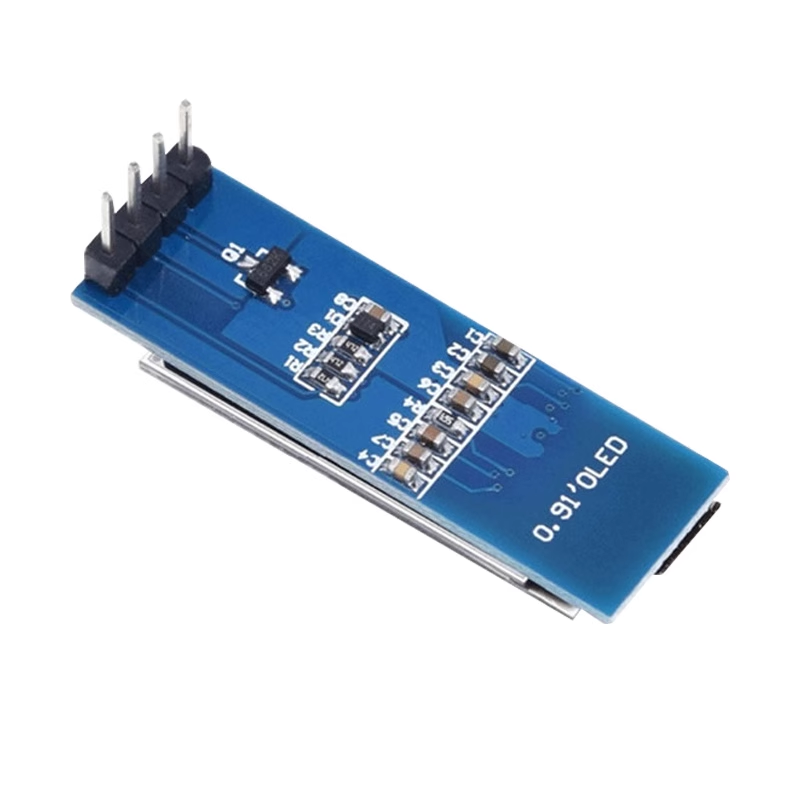
It's a very popular OLED display, search for SSD1306 0.91-inch OLED 128x32 4-pin on aliexpress.com, ebay.com, amazon.com or taobao.com. These displays are available in different colors: blue, white and yellow, you can select the one you prefer.
Solder it like this:
It's recommended to put something soft under the display on the right side.
WARNING: some unscrupulous sellers may sell you used, burned-in displays.
- microSD card socket (push-push, 8-pin + card detect pin = 9-pin)
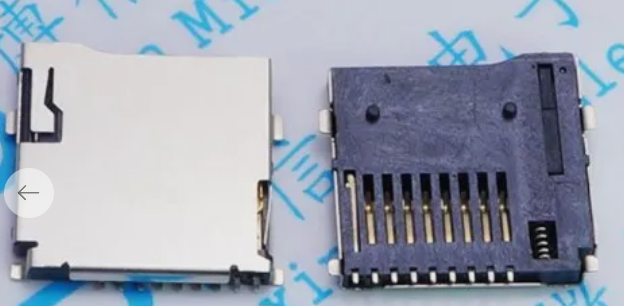
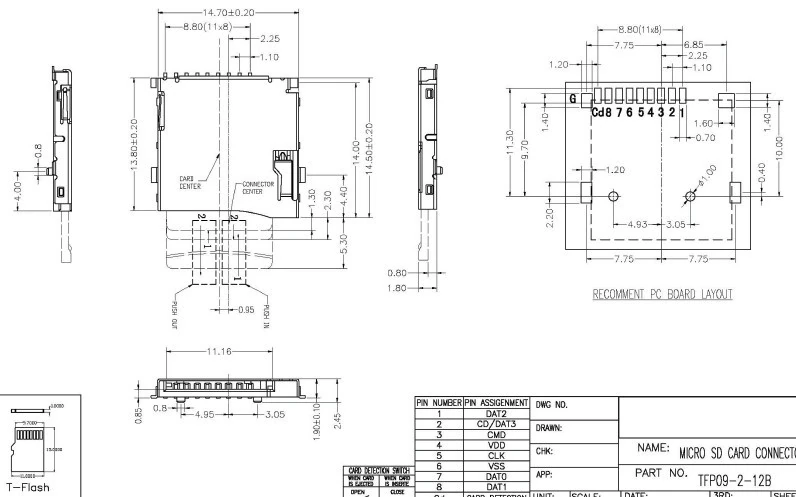
It's a very popular push-push socket, they can be found on aliexpress.com. Also, you can search for 112J-TDAR-R01 model but there are many compatible models with other names. You can always modify the PCB to accommodate a different socket model.
- LD1117S33 stabilizer
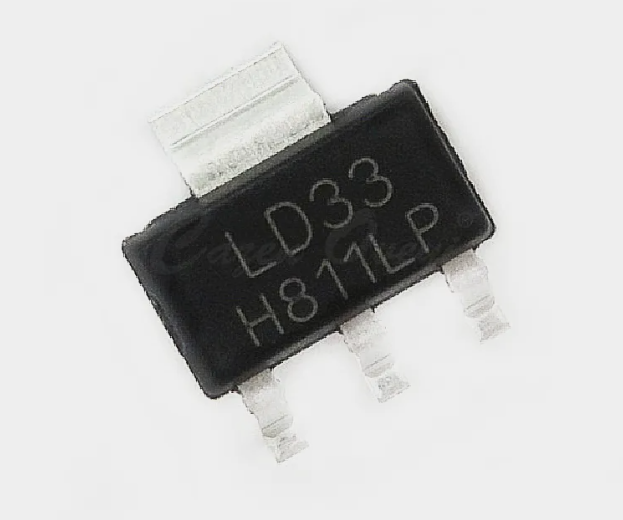
You can buy it in any electronic components store.
- Four SMD buttons
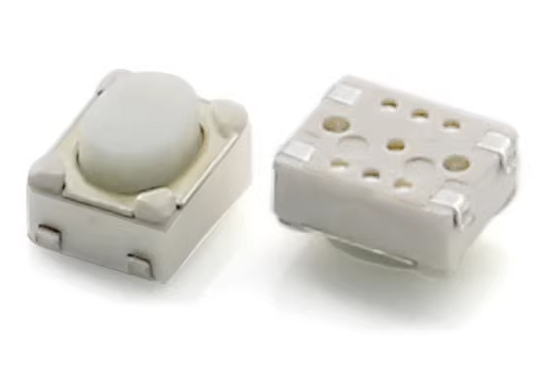
Search for 3X4X2.5H SMD buttons, they can be found on aliexpress.com, ebay.com, amazon.com or taobao.com. You can also search for 434133025816 model on mouser.com.
- Resistors and capacitors
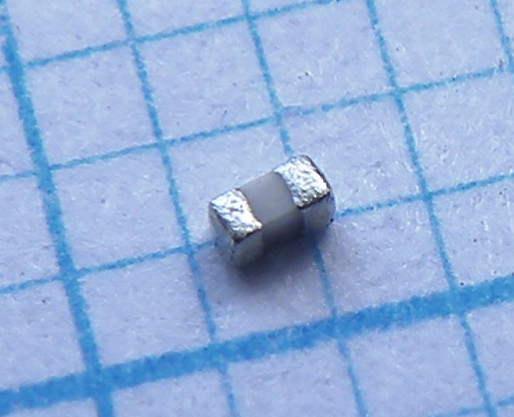
You will need only a few of them:
- C1, C2 - two 4.7uF ceramic capacitors, 0603 size (higher values are not recommended)
- C3, C4 - two 100nF ceramic capacitors, 0402 size (0603 will be fine too)
- R1, R2 - two 1.5K resistors, 0402 size (0603 will be fine too), actually you can also use any values from 1K to 10K
You can buy them in any electronic components store.
- Plastic case
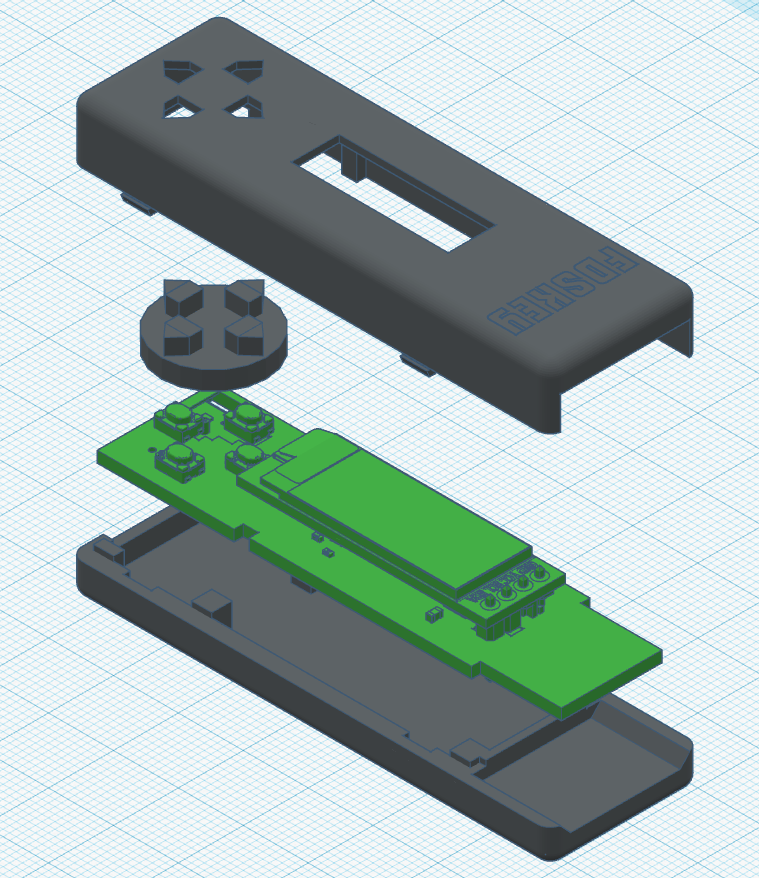
You can print plastic case with a 3D printer. You can find .stl files in the case_3d_models directory. There are two types of models:
- For FDM 3D printers - can be printed on a affordable home 3D printer, the bottom and top parts of the case must be glued together
- For MJF 3D printers (recommended) - for industrial 3D printing, you can order it from a manufacturing service (e.g. jlcpcb.com), this version features latches
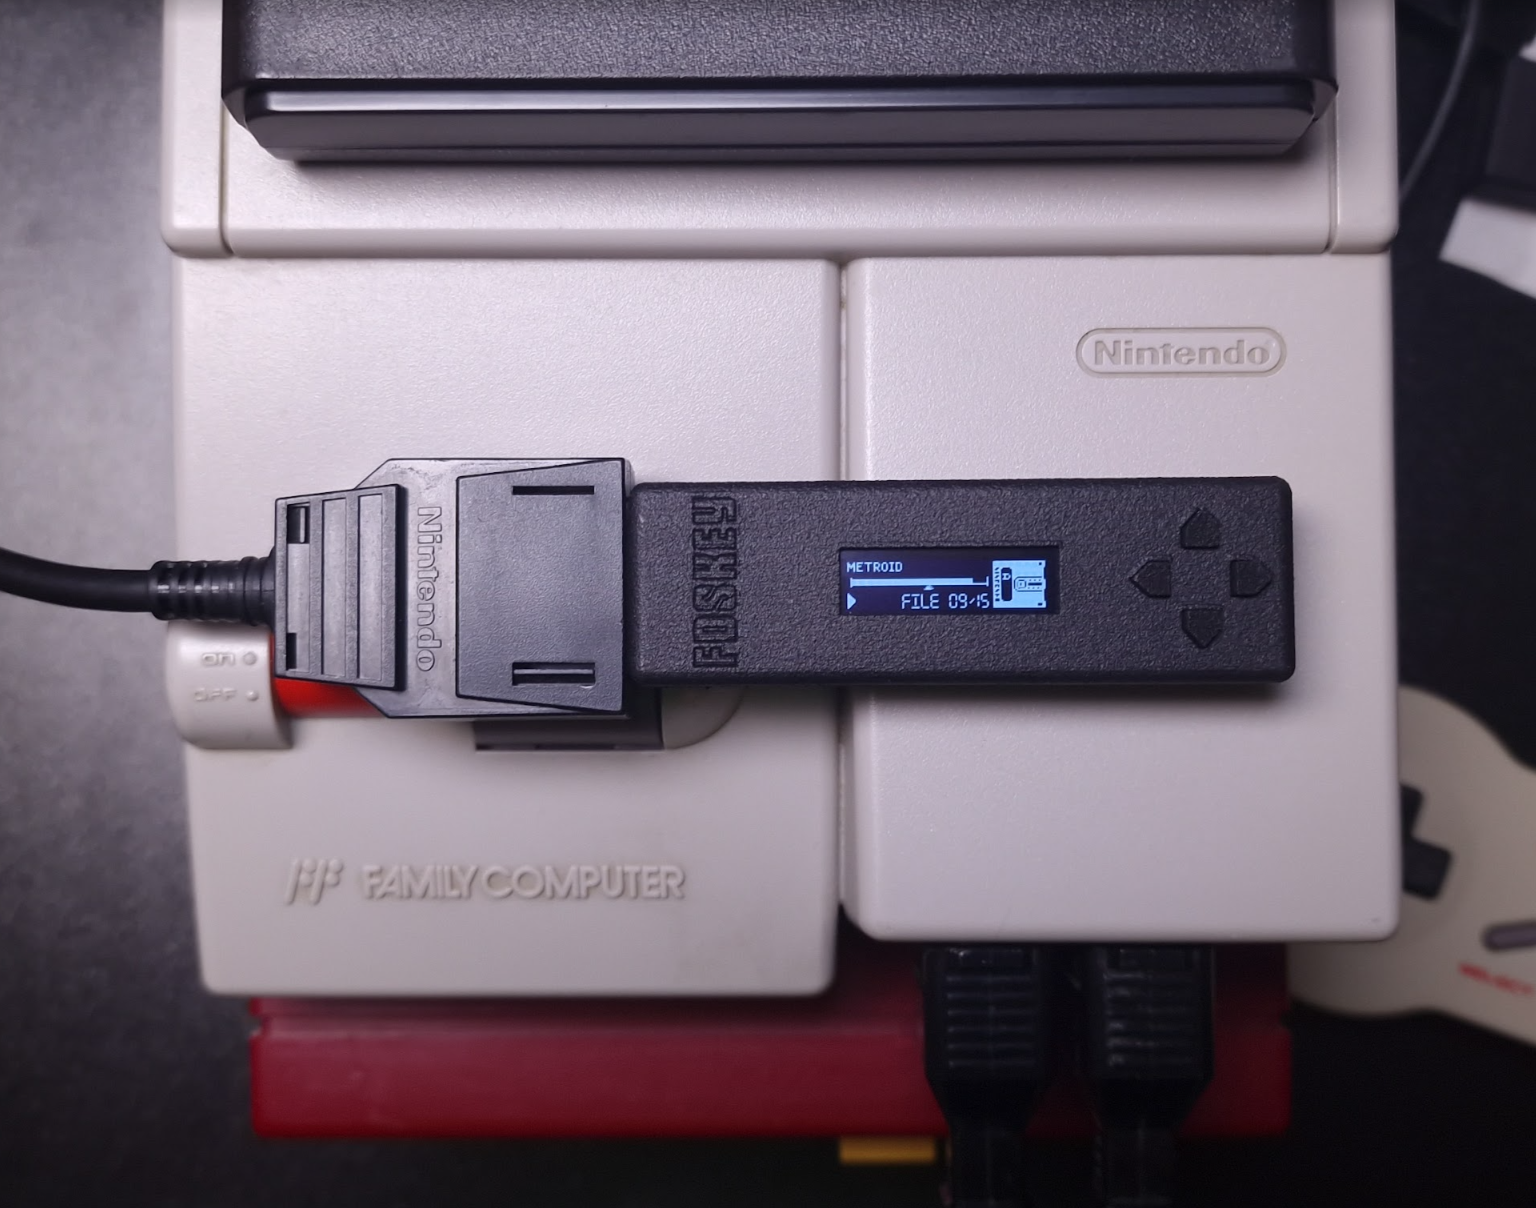
What does it look like when everything is assembled:
Flashing the firmware
There are five TH pads (actually 6 but 1 is unused) on the PCB to connect a ST-Link (or clone) programmer: GND, VCC, SWD, SWCLK, and NRST. Use STM32CubeProg software (Win/Linux/Mac) to write the bootloader and the firmware. Old STM32 ST-LINK Utility will not work, it's deprecated.
First, you need to write the bootloader - bootloader.bin file. Use a programmer and write it to the 0x08000000 address (start of the flash memory, default address).
Then you can put the main firmware file - FdsKey.bin on your SD card (FAT/FAT32/exFAT formatted) and hold all four buttons on power-on, e.g. connect FDSKey to RAM adaptor, hold buttons and turn a Famicom on. You can use the same method to update the main firmware in the future without additional hardware. You can also use a programmer and write it to the 0x08020000 address.
You can write the bootloader and the firmware at once using the STM32CubeProg CLI tool:
STM32_Programmer_CLI.exe -c port=SWD --erase all --download bootloader.bin 0x08000000 --download fdskey.bin 0x08020000
After the first boot, press and hold the left button on the main menu screen for 3 seconds to access the service menu. There, you can select the OLED display controller type (change it if the display shows a corrupted image in "lefty mode") and check some system information.
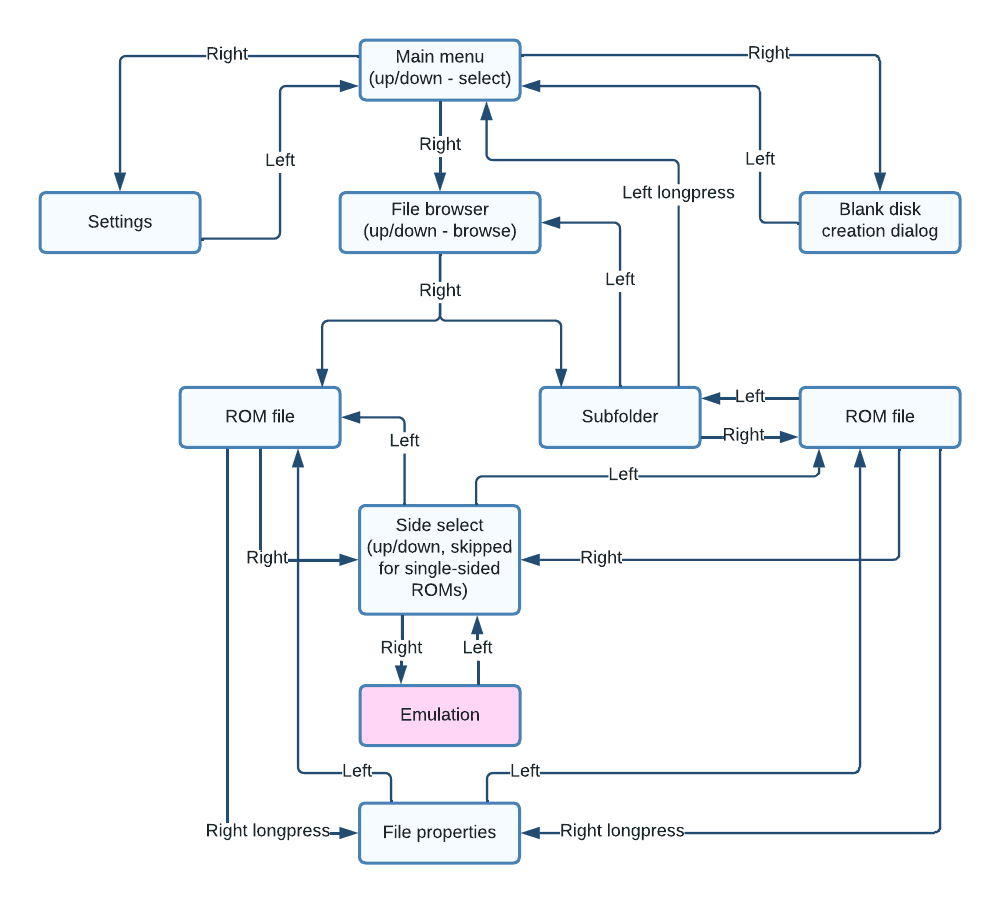
Device usage
Format a microSD card to FAT/FAT32/exFAT and put some .fds files on it. Insert a microSD card into a FDSKey, insert a FDSKey into a RAM Adaptor's cable instead of a physical disk drive and turn on a Famicom. You can hot plug a FDSKey when Famicom is already on too, it's ok.
Now you can navigate through the FDSKey interface using the buttons. Left button usually means back, right button usually means OK and up/down are used to select something (file, disk side, etc.) Also, you can long press the left button in the file browser to directly return to the main menu from a subfolder, and long press the right button to open the file properties menu.
Oops, too complicated :( Let's try again...

Much better.
WARNING: when a game writes some data to a virtual disk (i.e., saves game progress) don't turn off your Famicom power until the updated ROM has been saved to the SD card. Wait a second for it or eject a virtual disk (left button). A saving message will be displayed, do not turn off power while this message is visible.
Settings menu
Use up/down buttons to select a setting and left/right to change it. Setting descriptions:
- Rewind speed: you can select a drive operation speed as either original (very slow, like on a physical FDS drive, for the nostalgic ones), fast (where the rewind time is reduced but the virtual head position is not altered), or turbo (the fastest possible mode, instant head rewind).
- Remember state: you can select a power-on state between none (always start from the main menu), browser (open browser and select last file if browser was opened before power off), and ROM (start first side of the last started game emulation if ROM emulation was active before power off).
- Saves (since v1.1): you can select how to save game progress as either overwrite (just overwrite the original .fds file), backup+overwrite (just overwrite the original .fds file but make backup to .fds.bak file first), or like EverDrive (EverDrive-compatible saves format).
- Hide non .fds files: hide files with non .fds extension in the file browser.
- Hide .fds extensions: hide .fds extension in the file browser.
- Hide hidden files: hide hidden files and directories in the file browser.
- Brightness: screen brightness from 0 to 10.
- Invert screen: draw black on white instead of white on black.
- Lefty mode: rotate screen image on 180 degrees and flip buttons.
- Screen off after: time before automatic screen off if there is no any action (button presses, drive activity), it's recommended to use this feature to prevent OLED screen burn-in.
- [ Save and return ]: press left or right button on this item to return to the main menu.
Service menu
You can access the service menu by holding the left button on the main menu screen for 3 seconds. This menu is mainly meant for developers or advanced users. There is a lot of system information and several options/functions:
- OLED controller: try to change it in case if "lefty mode" is not working correctly.
- **[
Related Skills
node-connect
343.3kDiagnose OpenClaw node connection and pairing failures for Android, iOS, and macOS companion apps
frontend-design
92.1kCreate distinctive, production-grade frontend interfaces with high design quality. Use this skill when the user asks to build web components, pages, or applications. Generates creative, polished code that avoids generic AI aesthetics.
openai-whisper-api
343.3kTranscribe audio via OpenAI Audio Transcriptions API (Whisper).
qqbot-media
343.3kQQBot 富媒体收发能力。使用 <qqmedia> 标签,系统根据文件扩展名自动识别类型(图片/语音/视频/文件)。
