Waterways
A tool to generate river meshes with flow and foam maps based on bezier curves.
Install / Use
/learn @Arnklit/WaterwaysREADME
Waterways Add-on for Godot Engine
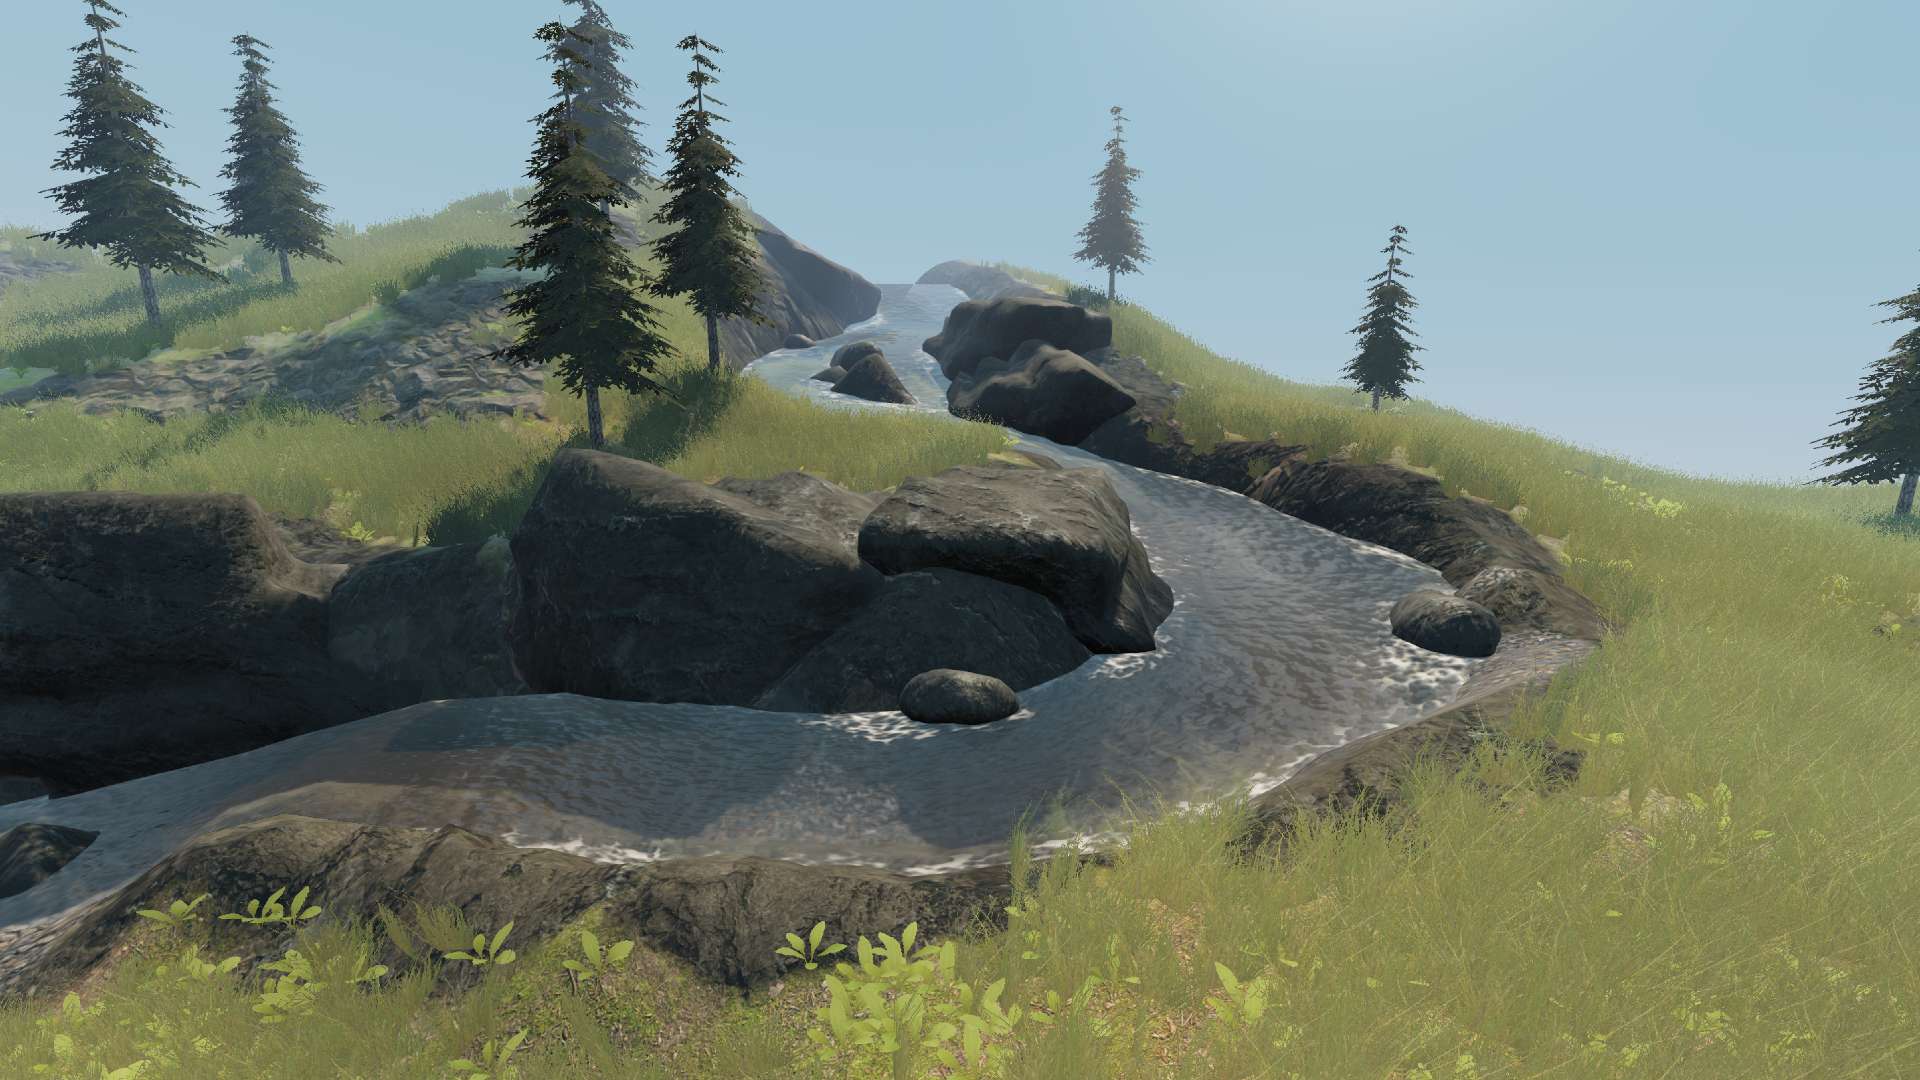
A tool to generate river meshes with flow and foam maps based on bezier curves. Try out the demo project for an example.
Installation
Copy the folder addons/waterways into your project and activate the add-on from the Project -> Project Settings... -> Plugins menu.
Purpose
I've been very impressed with examples of using flowmaps to imitate water simulations in games for a while, but most of the implementations I've seen were using either manually painted flowmaps, or flowmaps generated in an external program. I wanted to see if it was possible to have good flowmap results purely generated within Godot. Both the generation of the flowmaps and the generation of the mesh for the river was of interest to me and I've learned a lot implementing my solution.
Usage
Once the addon is active, you can simply add a River node to the scene.

Shaping
You can then use the Path controls to shape the river to your liking.

The "Snap to Colliders" constraint can be used to easily place the path of the river along a terrain.

The Axis and Plane constraints can be used for better control in moving and adding points. The implementation is similar to Blender's. You can also use the shortcuts X, Y and Z to lock movement to a given axis and shortcuts Shift + X, Y and Z to lock to planes YZ, XZ and XY. The Local mode option, switches the axis to be local to the point rather than the world and can be toggled with shortcut T.

Texture Baking
Once you are happy with the shape of your river, you can use the River -> Generate Flow & Foam Map option to bake out the textures that activate flow map and foam. The settings for the baking are located in the river's inspector, see section below.

Generating a Mesh Copy
In case you want to access the river mesh directly to use it for other purposes such as generating a collision shape. You can use the River -> Generate MeshInstance Sibling option.

Using a WaterSystem Node
To generate a global height and flowmap of a river. You can add a WaterSystem node and generate a texture based on any River child nodes with the WaterSystem -> Generate System Maps option.

Using a Buoyant Node
Adding a Buoyant node as a child to a RigidBody will allow the object to float on the river if a WaterSystem with valid maps is available.

Using flow and height maps in shaders
You can automatically assign the global textures from the WaterSystem node to MeshInstances to use them in shaders. See the WaterSystem parameters for details. Once the textures and coordinates are assigned you can use them in a shader like this:
shader_type spatial;

uniform sampler2D water_systemmap;
uniform mat4 water_systemmap_coords;
varying vec3 world_vertex;

float water_altitude(vec3 pos) {
	vec3 pos_in_aabb = pos - water_systemmap_coords[0].xyz;
	vec2 pos_2d = vec2(pos_in_aabb.x, pos_in_aabb.z);
	float longest_side = water_systemmap_coords[1].x > water_systemmap_coords[1].z ? water_systemmap_coords[1].x : water_systemmap_coords[1].z;
	pos_2d = pos_2d / longest_side;
	float value = texture(water_systemmap, pos_2d).b;
	float height = value * water_systemmap_coords[1].y + water_systemmap_coords[0].y;
	return pos.y - height;
}

void vertex() {
	world_vertex = (WORLD_MATRIX * vec4(VERTEX, 1.0)).xyz;
}

void fragment() {
	float altitude = clamp(water_altitude(world_vertex), 0.0, 1.0);
	ALBEDO = vec3(altitude);
}
For effects such as this:

River Parameters
The river's parameters are split into 4 sections.
Shape
- Step Length Divs - How many subdivision the river will have per step along its length.
- Step Width Divs - How many subdivision the river will have along its width.
- Smoothing - How much the shape of the river is relaxed to even out corners.
Material
The Material section has two hardcoded parameters
- Shader Type - This option allows you to select between the two built-in shaders Water and Lava.
- Custom Shader - This option allows you to easily make a copy of the selected shader and edit it.
The remaining parameters in the Material section are parsed from the currect shader
Parameters shared by Water and Lava shader
- Normal Scale - The strength of the normal mapping.
- Normal Bump Texture - The pattern used for the water. RG channels hold the normal map and B holds a bump or height map used for the foam.
- UV Scale - The UV scaling used for textures on the river.
- Roughness - The roughness of the river surface, also affects the blurring that occurs in the refractions.
- Edge Fade - The distance the river fades out when it intesects other objects to give the shore line a softer look.
- Flow - Subcategory for flow options.
- Speed - How fast the river flows.
- Base Strength - Base multiplier of the flow vectors.
- Steepness Strength - Flow vectors multiplied by the steepness of the river.
- Distance Strength - Flow vectors multiplied by the distance field for faster flows further away from shore.
- Pressure Strength - Flow vectors multiplied by a pressure map, to imitate the flow increasing when there is less available space in the river.
- Max Strength - Clamps the maximum multiplier of the flow vectors.
Parameters specific to Water shader
-
Albedo - Subcategory for the albedo parameters.
- Color - The two colours of the water mixed based on the depth set in Depth.
- Depth - The water depth at which the far colour of the gradient is returned.
- Depth Curve - The interpolation curve used for the depth gradient.
-
Transparency - Subcategory for the transparency parameters.
- Clarity - How far light can travel in the water before only returning the albedo colour.
- Depth Curve - The interpolation curve used for the clarity depth.
- Refraction - How much the background gets bent by the water shape.
-
Foam - Subcategory for the foam options.
- Color - The colour of the foam.
- Ammount - Controls the foam cutoff in the shader, you may have to use the foam baking setting to change the amount of foam further. See below.
- Steepness - Gives the option to add in foam where the river is steep.
- Smoothness - Controls how the foam layers are combined to give a sharper or softer look.
Parameters specific to the Lava shader
- Emission - Subcategory for the emission options.
- Color - The two colours multiplied by the emission texture of the lava mixed based on the depth set in Depth.
- Depth - The lava depth at which the far colour of the gradient is returned.
- Depth Curve - The interpolation curve used for the depth gradient.
- Texture - The emission texture.
Lod
- Lod0 Distance - Controls the cutoff point for whether the shader samples textures twice to create an FBM effect for the waves and foam.
Baking
- Resolution - Controls the resolution of the baked flow and foam map. This texture does not need to be very large to look decent, so only increse it if needed as the baking time can increase a lot.
- Raycast Distance - The collision map is calculated using raycasts from the river surface to detect colliders, adjust the length as needed.
- Raycast Layers - The physics layers to use for the raycast.
- Dilate - The amount of dilation happening to convert the collision map to an Distance Field. This value should generally not be adjusted.
- Flowmap Blur - How much the flowmap is blurred to clear up seams or artifacts.
- Foam Cutoff - How much of the Distance Field is cut off to generate the foam mask. Increasing this calue will make the foam mask tighter around the collisions.
- Foam Offset - How far the foam strethes along the flow direction.
- Foam Blur - How much the foam mask is blurred.
Writing Custom Shaders
When writing custom shaders for the tool there are a few things to keep in mind.
The tool uses certain uniforms that should not be customized as that will break the tool. These uniforms are prefixed with "i_" and are:
|Uniform name |Description | |:-------------------|:------------------------------------------------------------| |i_lod0_distance |used by the LOD system | |i_texture_foam_noise|a noise texture used to display foam on steep angles | |i_flowmap |the generated flowmap(RG) and foam map(B) | |i_di
Related Skills
node-connect
336.9kDiagnose OpenClaw node connection and pairing failures for Android, iOS, and macOS companion apps
frontend-design
83.0kCreate distinctive, production-grade frontend interfaces with high design quality. Use this skill when the user asks to build web components, pages, or applications. Generates creative, polished code that avoids generic AI aesthetics.
openai-whisper-api
336.9kTranscribe audio via OpenAI Audio Transcriptions API (Whisper).
commit-push-pr
83.0kCommit, push, and open a PR
